Oh hey! So, let’s chat about something amazing. You know how much I adore a good, really fudgy brownie, right? And cheesecake? Don’t even get me started. Well, imagine smashing those two epic desserts together. Yep, that’s where these cheesecake brownies come in, and honestly, they are life-changing. The first time I landed on this version after a few (okay, maybe several!) messy but delicious experiments, I knew I’d struck gold. They’re that perfect mix of deep chocolate richness and tangy cream cheese goodness, all swirled together. They look fancy, but shhh – they’re actually pretty easy. You’re gonna wow people with these!
What You Need for These Killer Cheesecake Brownies
Alright, let’s grab our stuff! Good ingredients are key here – no skimping on the good chocolate or creamy cheese! Here’s the rundown, plus a few little swaps you can make if you need to.
For the Brownie Part (aka, the Fudgy Foundation):
- Butter (1/2 cup / 113g, unsalted): The heart of that rich flavor. If you’ve only got salted butter, just use a tiny bit less salt later. No biggie!
- Sugar (1 cup / 200g, granulated): Sweetness! I sometimes swap half for brown sugar if I want them extra chewy.
- Eggs (2 large ones): They hold everything together. Letting them hang out on the counter for a bit to reach room temp helps them mix in better.
- Vanilla Extract (1 tsp): Go for the real stuff if you can – it makes a difference!
- Flour (1/2 cup / 65g, all-purpose): Just enough to give them shape. My gluten-free friends, a good 1-to-1 GF baking flour works like a charm here.
- Cocoa Powder (1/3 cup / 30g, unsweetened): Get a decent one! That deep chocolate flavor is crucial. I love using Dutch-process for extra oomph.
- Salt (1/4 tsp): It just makes the chocolate pop!
- Chocolate Chips (1/2 cup / 85g, semi-sweet): Because… why not? Feel free to use milk chocolate, dark chocolate chunks, whatever makes you happy.
For the Cheesecake Swirl (The Tangy Swirl of Dreams):
- Cream Cheese (8 oz / 226g, one block): Use the full-fat kind, seriously. And PLEASE let it get super soft on the counter first. Like, really soft. Otherwise? Lumps. Nobody wants lumpy cheesecake swirl.
- Sugar (1/4 cup / 50g, granulated): Just a touch to sweeten that tang.
- Egg Yolk (1 large): Makes the swirl rich and helps it set up nicely. (Save the white for breakfast omelets!)
- Vanilla Extract (1/2 tsp): Vanilla + cream cheese = match made in heaven.
How Long Does This Magic Take? (Spoiler: Not Forever!)
Okay, I know these cheesecake brownies look like they took all day, but here’s the scoop:
- Getting Ready (Prep): Maybe 20-25 minutes? It’s just mixing stuff. Pour yourself a drink, put on some tunes – make it fun!
- Baking Time: About 30-35 minutes. Your house is going to smell ridiculously good. You’ve been warned.
- The Waiting Game (Cooling): Gotta let ’em chill for at least 30 minutes, but honestly, longer is better if you want neat slices. Be strong!
- Total Time: All in, maybe around 1 hour 30 minutes, cooling included. Which, let’s be real, is probably less time than it takes you to scroll through Netflix deciding what to watch tonight. Plus, way tastier results!
Let’s Make Some Cheesecake Brownies! Step-by-Step Fun
Alright, ready to bake up some happiness? Here we go!
Step 1: Get Your Oven and Pan Ready
First up, crank that oven to 350°F (175°C). Find your trusty 8×8 inch baking pan. Line it with parchment paper – leave a little extra hanging over the sides like handles. Best trick ever for lifting them out later! Maybe give the paper a quick spray with non-stick too, just to be safe.
Step 2: Mix Up That Brownie Goodness
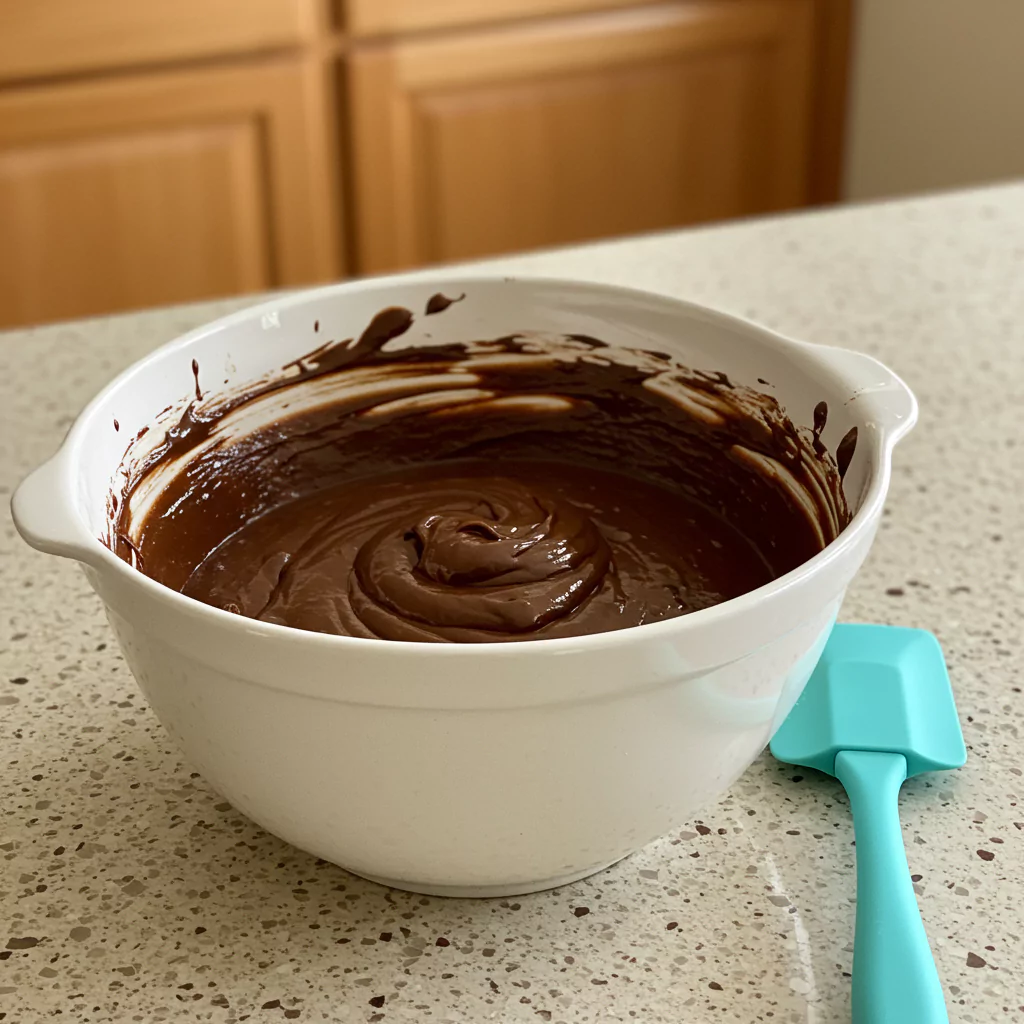
Melt your butter – gently on the stove or zapped in the microwave works. Pour the melted butter into a big bowl and whisk in the sugar. It’ll look kinda grainy, totally normal. Now, beat in your eggs, one after the other, then splash in the vanilla. In another little bowl, whisk the flour, cocoa powder, and salt together. Dump the dry stuff into the wet stuff and mix just until you don’t see big streaks of flour anymore. PLEASE don’t go wild mixing here – we want fudgy, not tough! Gently stir in those chocolate chips. Now, scoop out about half a cup of this batter and set it aside. We need it for swirling later! Spread the rest of the batter evenly in the bottom of your prepared pan.
Step 3: Whip Up the Creamy Cheesecake Part
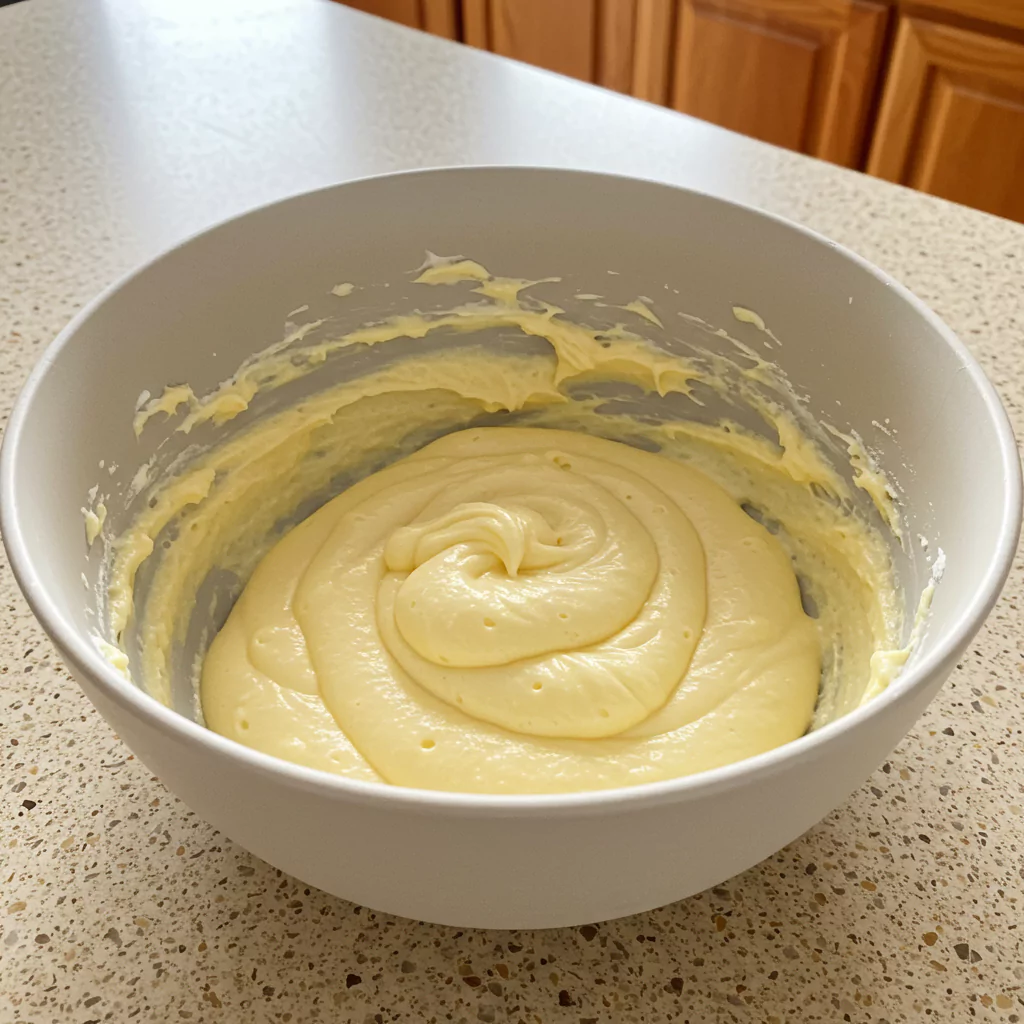
Remember that super soft cream cheese? Now’s its time to shine. In a bowl, beat it with an electric mixer (or a whisk and some elbow grease) until it’s totally smooth. Beat in the sugar, then the egg yolk, and finally the vanilla. Keep going until it’s smooth, creamy, and utterly irresistible. Try not to eat it all with a spoon.
Step 4: Layering Time!
Okay, plop spoonfuls of the cheesecake mixture all over the brownie batter in the pan. No need to be neat about it yet. Now grab that brownie batter you saved and drop spoonfuls of that over the cheesecake layer.
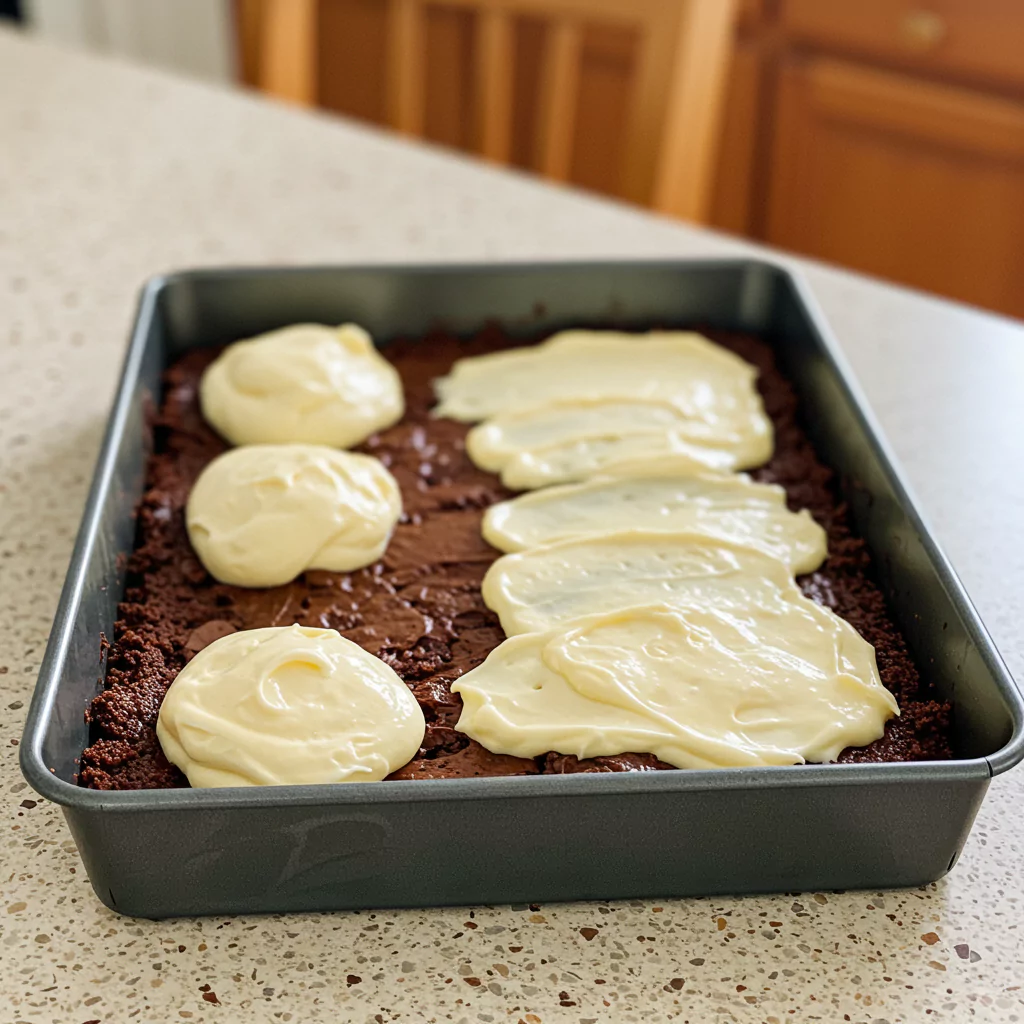
Step 5: Get Your Swirl On!
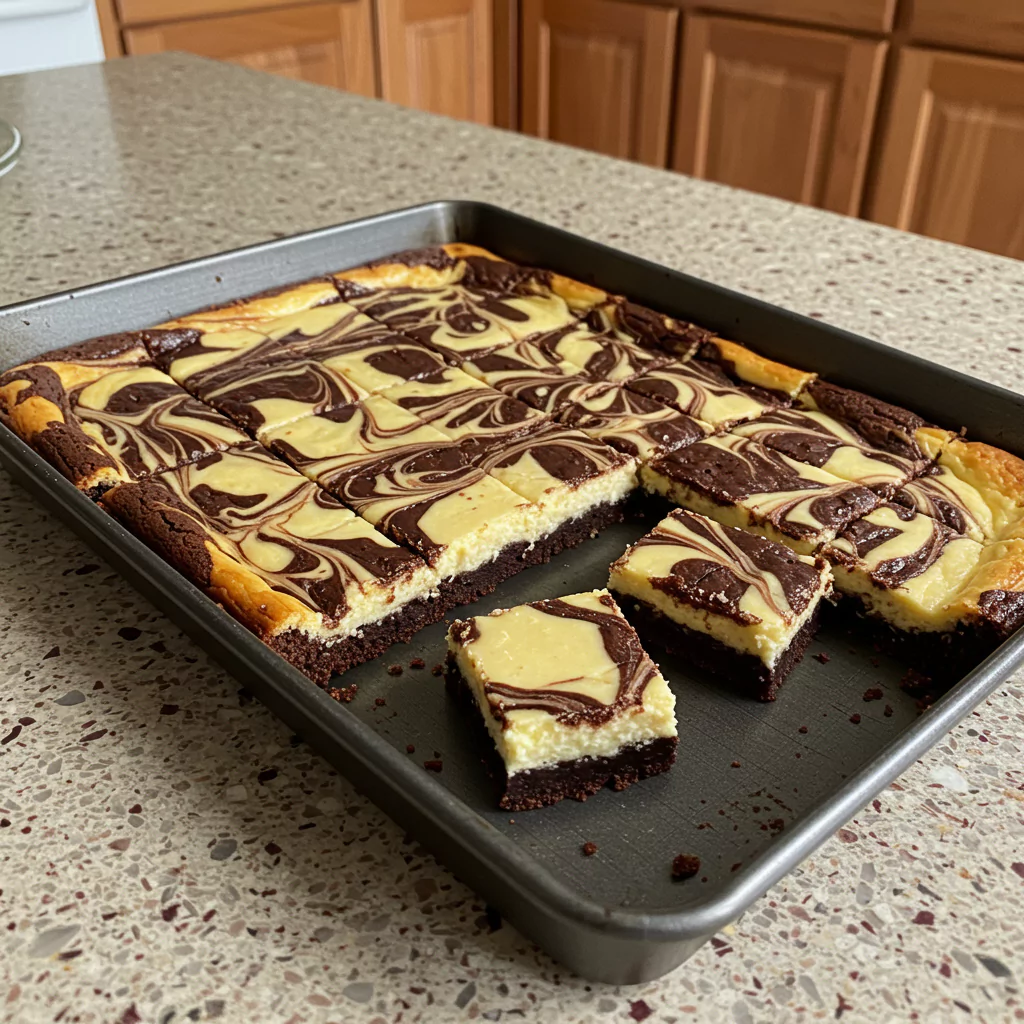
The best part! Grab a butter knife or even a chopstick. Gently swirl the two batters together. Think lazy figure-eights or zig-zags. You want it marbled and pretty, not completely mixed together. Don’t overdo it! A few good swirls are all you need for that classic cheesecake brownie look.

Step 6: Bake ‘Em Up!
Carefully slide that pan into your hot oven. Let it bake for about 30-35 minutes. You’ll know they’re ready when the edges look set and if you poke a toothpick into a brownie section (try to miss the cheesecake!), it comes out with moist crumbs, not wet goo. The cheesecake parts might still jiggle a tiny bit – totally cool, they’ll firm up as they cool down.
Step 7: Chill Out! (Seriously, Let Them Cool)
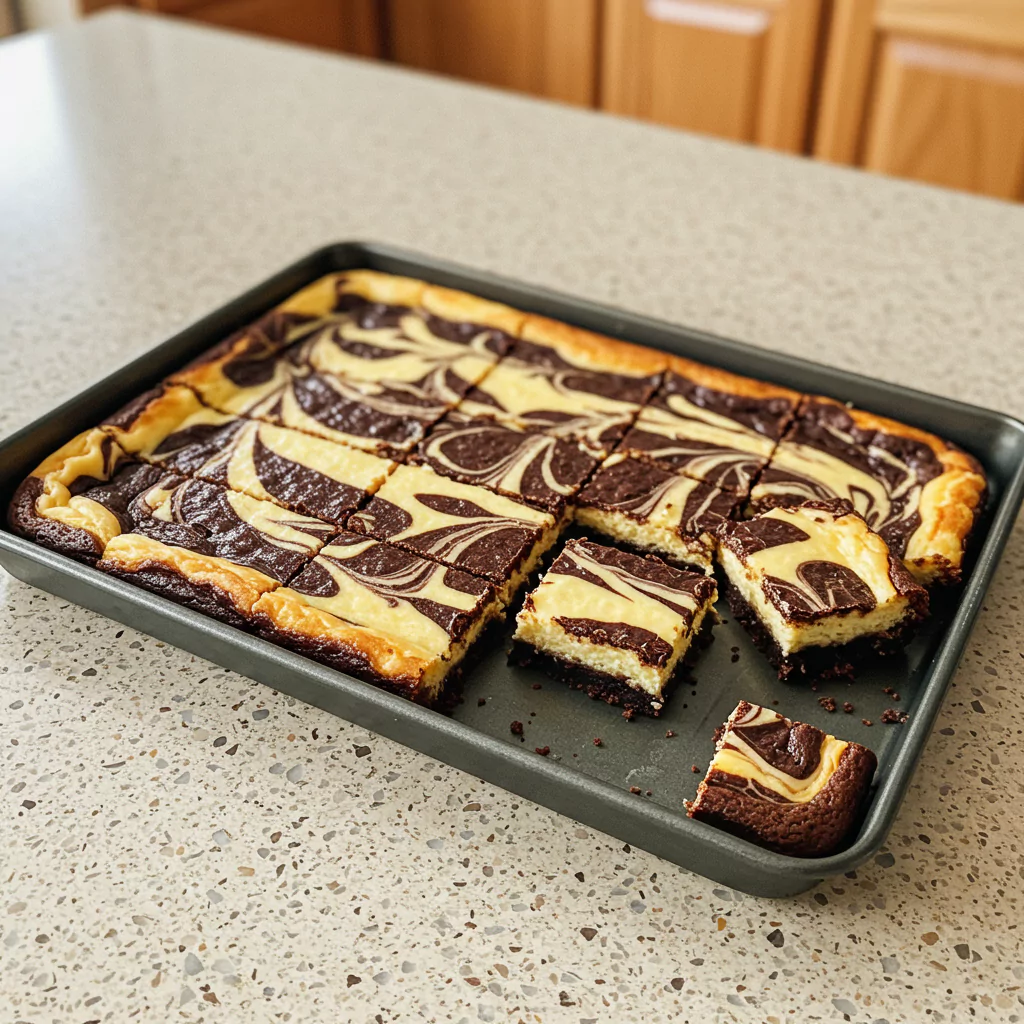
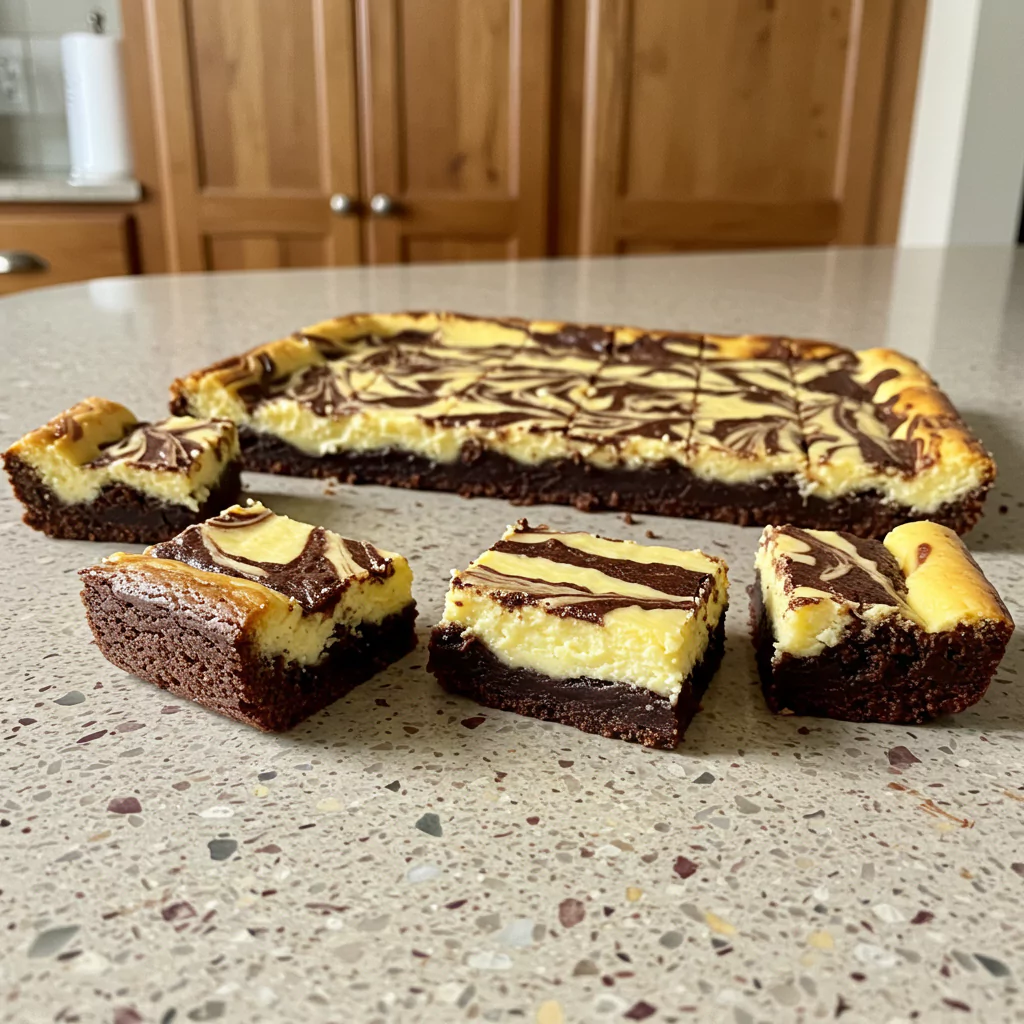
This is pure torture, I know, but you have to let these beauties cool down in the pan on a wire rack. Give them at least 30 minutes, but honestly, an hour is even better. They get fudgier and set up properly, which means you can cut them into nice squares (or those cool wedges like in the pic!) without making a mess. Once cool, use those parchment handles to lift the whole slab out. Genius, right?
Making Them a Little Lighter? Totally Can!
Look, these cheesecake brownies are a treat, right? But if you wanna play around with making them a tad lighter, here are some things I’ve tried:
- Less Sugar: You can usually shave off a couple of tablespoons of sugar from each batter without disaster striking. Or try a baking-friendly sugar sub if that’s your jam.
- Yogurt Swap: Feeling adventurous? Swap some (maybe half?) of the cream cheese for plain Greek yogurt. It adds protein but will change the texture a bit – still yummy though!
- Flour Fun: White whole wheat flour works, or that 1:1 GF blend if needed. Adds a little fiber boost!
- Go Dark: Using dark chocolate chips gives you that antioxidant kick and feels a bit more grown-up.
- Butter Stuff: Applesauce or avocado instead of some butter? Ehh, I’d be careful here. It messes with the fudginess, which is kinda the whole point! Maybe just stick to the other swaps.
Recipes You May Like
How to Serve These Beauties
Honestly? Straight outta the pan works for me! But if you’ve got company or just feel like being extra:
- With Ice Cream: Duh! Vanilla bean is classic, but coffee or even salted caramel ice cream? Yes, please.
- Berries! Fresh raspberries or strawberries cut through the richness so well. A simple berry sauce is amazing too.
- Extra Drizzle? Oh yeah. Salted caramel, chocolate sauce… go wild.
- A Little Dusting: Cocoa powder or powdered sugar makes ’em look instantly fancy.
- Coffee’s Best Friend: Seriously, a square of this with your afternoon coffee? Perfection.
Storing Your Precious Cheesecake Brownies
If, by some miracle, you have leftovers, here’s the deal: because of that creamy cheesecake swirl, they gotta live in the fridge.
- Fridge: Let them cool ALL the way down first. Then pop ’em in an airtight container. They’ll stay delicious for 4-5 days (and honestly, I think they’re even better on day two!).
- Freezer: Yep! Cut into squares, wrap ’em up tight individually (or with parchment between layers) in plastic wrap, then into a freezer bag. They’re good for a couple of months. Just thaw in the fridge overnight when the craving hits!
Okay, Real Talk: Why I Really Love These
Look, I wouldn’t share this if I wasn’t genuinely obsessed. These cheesecake brownies are just… everything. That perfect chewy, fudgy chocolate base, the slight tang and creaminess from the cheesecake swirl – it’s a match made in dessert heaven. They look way more impressive than they are difficult, and they always, always get rave reviews.
You HAVE to try making these. Seriously. They’re perfect for potlucks, birthdays, Tuesdays… basically any day that needs a little bit of awesome. And when you do make them, pretty please tell me all about it in the comments below! Did you love them? Did you change anything? I wanna hear it all!
Happy baking, everyone!

Cheesecake Brownies
Rich, fudgy cheesecake brownies with creamy swirls! An easy dessert recipe for decadent chocolate & cream cheese perfection. Try it today!
Ingredients
- 1/2 cup (113g) Unsalted Butter
- 1 cup (200g) Granulated Sugar
- 2 Large Eggs (room temp is great!)
- 1 tsp Pure Vanilla Extract
- 1/2 cup (65g) All-Purpose Flour
- 1/3 cup (30g) Unsweetened Cocoa Powder (good quality stuff!)
- 1/4 tsp Salt
- 1/2 cup (85g) Semi-Sweet Chocolate Chips (or your favorite kind)
- 8 oz (226g, 1 block) Cream Cheese (full-fat, and really softened!)
- 1/4 cup (50g) Granulated Sugar
- 1 Large Egg Yolk
- 1/2 tsp Vanilla Extract
Instructions
Step 1: Get Your Oven and Pan Ready
First up, crank that oven to 350°F (175°C). Find your trusty 8×8 inch baking pan. Line it with parchment paper – leave a little extra hanging over the sides like handles. Best trick ever for lifting them out later! Maybe give the paper a quick spray with non-stick too, just to be safe.
Step 2: Mix Up That Brownie Goodness
Melt your butter – gently on the stove or zapped in the microwave works. Pour the melted butter into a big bowl and whisk in the sugar. It’ll look kinda grainy, totally normal. Now, beat in your eggs, one after the other, then splash in the vanilla. In another little bowl, whisk the flour, cocoa powder, and salt together. Dump the dry stuff into the wet stuff and mix just until you don’t see big streaks of flour anymore. PLEASE don’t go wild mixing here – we want fudgy, not tough! Gently stir in those chocolate chips. Now, scoop out about half a cup of this batter and set it aside. We need it for swirling later! Spread the rest of the batter evenly in the bottom of your prepared pan.
Step 3: Whip Up the Creamy Cheesecake Part
Remember that super soft cream cheese? Now’s its time to shine. In a bowl, beat it with an electric mixer (or a whisk and some elbow grease) until it’s totally smooth. Beat in the sugar, then the egg yolk, and finally the vanilla. Keep going until it’s smooth, creamy, and utterly irresistible. Try not to eat it all with a spoon.
Step 4: Layering Time!
Okay, plop spoonfuls of the cheesecake mixture all over the brownie batter in the pan. No need to be neat about it yet. Now grab that brownie batter you saved and drop spoonfuls of that over the cheesecake layer.
Step 5: Get Your Swirl On!
The best part! Grab a butter knife or even a chopstick. Gently swirl the two batters together. Think lazy figure-eights or zig-zags. You want it marbled and pretty, not completely mixed together. Don’t overdo it! A few good swirls are all you need for that classic cheesecake brownie look.
Step 6: Bake ‘Em Up!
Carefully slide that pan into your hot oven. Let it bake for about 30-35 minutes. You’ll know they’re ready when the edges look set and if you poke a toothpick into a brownie section (try to miss the cheesecake!), it comes out with moist crumbs, not wet goo. The cheesecake parts might still jiggle a tiny bit – totally cool, they’ll firm up as they cool down.
Step 7: Chill Out! (Seriously, Let Them Cool)
This is pure torture, I know, but you have to let these beauties cool down in the pan on a wire rack. Give them at least 30 minutes, but honestly, an hour is even better. They get fudgier and set up properly, which means you can cut them into nice squares (or those cool wedges like in the pic!) without making a mess. Once cool, use those parchment handles to lift the whole slab out. Genius, right?
Notes
Nutrition Information:
Yield: 12 servings.Amount Per Serving: Calories: Approximately 350 kcal per serving
Tried This Recipe? Share Your Thoughts!
There are no reviews yet. Be the first one to write one.