So, picture this: me, years ago, absolutely determined to recreate that amazing turtle candy flavour but in cheesecake form. My first try? Edible? Yes. Mind-blowing? Not quite. Let’s just say there were a few… learning experiences (aka, slightly weird textured or overly sweet cheesecakes were eaten in the name of science!). But after way too many blocks of cream cheese and probably contributing significantly to my local grocery store’s pecan sales, I landed on this recipe. This is the one, my friends. The Turtle Cheesecake that gets gasps when you bring it out. It looks like you ordered it from a fancy bakery, but nope, you MADE this! And it’s easier than it looks, I promise.
The Good Stuff: What You Need for Your Turtle Cheesecake
Alright, ingredient time! Don’t let the list scare you; it’s mostly stuff you might already have if you’re a baker, and it all comes together for this specific magic. Think of it as assembling your Turtle Cheesecake dream team.
For That Crispy, Buttery Base (The Foundation!):
- Graham Cracker Crumbs: About 1 ½ cups worth. Bagged crumbs are easiest, let’s be honest, but whizzing up about 10-12 full crackers is strangely satisfying. Feeling adventurous? Swap for crushed Digestive biscuits, or get wild with salty pretzels! Need it gluten-free? Easy swap – GF graham-style crackers work like a charm.
- Unsalted Butter: 6 tablespoons. Melt it down ’til it’s lovely and liquid. This is what holds our crumbly world together.
- Sugar: Just ¼ cup granulated sugar. Sweet, simple.
- Chopped Pecans (Optional but AMAZING): I always toss in ¼ cup finely chopped pecans right into the crust. Adds this subtle nutty vibe from the get-go. Totally recommend.
For the Star of the Show: The Cheesecake Filling:
- Cream Cheese: Okay, deep breaths. You need four 8-ounce blocks. Yes, that’s 2 pounds (32 oz)! It seems like a lot, but this is what makes it cheesecake. Here’s the golden rule: It MUST be soft. Like, really room temperature soft. Leave it sitting out for at least a couple of hours. Cold cream cheese = lumpy cheesecake = sadness. We want smooth, creamy joy. Trust me. Full-fat gives the best flavor and texture, hands down.
- Sugar: 1 ½ cups granulated sugar. It’s a treat, after all!
- Large Eggs: Four of ’em. Let these guys hang out on the counter with the cream cheese. They mix in so much better when they aren’t shivering from the cold.
- Sour Cream: 1 cup. Again, room temp, full-fat is best. It adds this amazing moisture and a little tang that just works against the sweet stuff. Full-fat Greek yogurt can pinch-hit if needed.
- Vanilla Extract: 2 whole teaspoons. Use the good stuff! That imitation stuff just isn’t the same vibe.
- All-Purpose Flour: Just 2 tablespoons. Sounds random, right? But it gives the filling a bit more structure and helps ward off those dreaded cracks. Think of it as cheesecake insurance.
For the Glorious Turtle-y Toppings:
- Pecans: About 1 ½ cups, chopped up roughly. Pro move: Toast ’em! Seriously, spread them on a pan, 350°F (175°C) for 5-8 minutes until they smell nutty and amazing. It takes the pecans from “meh” to “WOW!”
- Caramel Sauce: You’ll want about a cup. Use a nice, thick store-bought one you love (splurge a little here, maybe?), or dulce de leche is fab too. Oh! Salted caramel? YES PLEASE. That salty-sweet thing is chef’s kiss.
- Chocolate Sauce or Ganache: About ½ cup should do it. Again, store-bought is totally fine, or make a quick ganache – it sounds way fancier than it is. Just heat ½ cup heavy cream ’til it’s steaming (not boiling!), pour it over ½ cup semi-sweet chocolate chips in a bowl. Let it sit for 5 mins (no touching!), then whisk like mad until it’s smooth and shiny. See? Easy!
Okay, How Long Does This Turtle Cheesecake Adventure Take?
Let’s manage expectations here. This isn’t a whip-it-up-in-an-hour kinda deal. BUT! And this is a big but, most of the time is hands-off. Like, you can go watch a movie while it chills kinda hands-off.
- Actually Doing Stuff (Prep): Set aside maybe 45 minutes total? Ish? Like 15 for the crust, 20ish for the filling (mostly mixing), 10 for topping prep/assembly. For a dessert that looks this incredible? That’s pretty darn good, less active time than endlessly scrolling Instagram, probably!
- Oven Time: Give it a solid 70-80 minutes to bake. Time to relax!
- The Waiting is the Hardest Part (Cooling/Chilling): Okay, don’t faint. This part takes time, but it’s SO important. About 1 hour cooling in the turned-off oven (door cracked), another hour cooling on the counter, then – the big one – at least 6 hours in the fridge. Overnight is honestly your best bet for perfect slicing and flavor melding.
- Grand Total: Yeah, it looks like 9-10 hours on paper. But YOU are only actively working for under an hour. The rest is just magic happening while you live your life. This Turtle Cheesecake is worth scheduling, believe me.
Let’s Bake! Your Step-by-Step Guide to Turtle Cheesecake Heaven
Ready? Let’s do this thing! I’ll walk you through it like I’m right there with you (minus the washing up, sorry!).
Step 1: Oven On, Pan Prepped!
Get that oven cranked up to 350°F (175°C). Now, grab your 9-inch springform pan. Give the bottom/sides a quick grease or line the bottom circle with parchment paper (makes getting it off the base easier later). Okay, here’s the slightly weird but essential step: Wrap the outside of the pan – bottom and sides – really well with a couple of layers of heavy-duty aluminum foil. Make sure it’s snug! This is for the water bath later; keeps water OUT. Soggy crust = tragic.
Step 2: Making the Crusty Base
Mix your graham cracker crumbs, sugar, and those optional pecans (do it!) in a bowl. Pour in the melted butter. Stir it all up. It should look kinda like wet sand and clump together when you pinch it. Now, press this mixture firmly into the bottom and about an inch up the sides of your foil-wrapped pan. Use a flat-bottomed glass or measuring cup to really pack it down evenly. Bake this for 10 minutes. Let it cool on a wire rack while you tackle the filling. Keep the oven on!
Step 3: Whipping Up That Dreamy Filling
Big bowl time! Toss in your room temperature cream cheese. Using an electric mixer (stand or hand, whatever you’ve got), beat it on medium until it’s DEAD smooth. No lumps allowed! Scrape the bowl down a couple of times to make sure. Once it’s looking like creamy perfection, slowly add the sugar while mixing, until it’s all smooth again. Now, the eggs – add them one at a time, mixing on LOW speed just until the yellow disappears. Seriously, don’t overmix the eggs! That’s a one-way ticket to Crack City. Gently stir in the room temp sour cream, vanilla, and flour on low, just until it’s all blended. Stop mixing! The batter should be thick, pale, and gorgeous.
Step 4: Assembly and the Spa Treatment (aka Water Bath)
Pour that beautiful batter right over your crust in the pan. Smooth the top gently. Now, the water bath! I know, it sounds fussy, but it’s KEY for a creamy, crack-free cheesecake. Carefully place your foil-wrapped pan into a bigger roasting pan. Pour HOT water into the bigger roasting pan – go slowly! You want the water to come about halfway up the sides of your cheesecake pan, but DON’T splash any water into the cheesecake. Gently, carefully, slide the whole setup into the oven. You got this!
Bake for 70-80 minutes. How do you know it’s done? The edges will look set, maybe slightly puffed. But the center (like, the inner couple of inches) should still have a distinct wobble, like Jell-O, when you gently nudge the pan. If it’s totally solid, it’s likely overbaked.
Step 5: The Slow Cool Down (Super Important!)
Okay, deep breaths. Resist the urge to just pull it out! Turn the oven completely OFF. Crack the oven door open just a bit (prop it with a wooden spoon if needed) and leave the cheesecake right there in the cooling oven for one full hour. This gentle cool-down is another big anti-crack strategy. After its spa hour, carefully lift the cheesecake pan out of the water bath (you can peel off the soggy foil now – careful, it’s hot!) and let it cool completely on a wire rack on your counter. Probably another hour or so.
Step 6: Refrigerator Hibernation
Once it’s cool to the touch (no sneaky warm spots!), cover it loosely with plastic wrap. Try not to let the wrap sag onto the surface. Now, into the fridge it goes! For how long? Minimum 6 hours. No cheating! Overnight is honestly the gold standard. This lets it firm up completely and somehow, the flavors just get better. Patience, grasshopper!
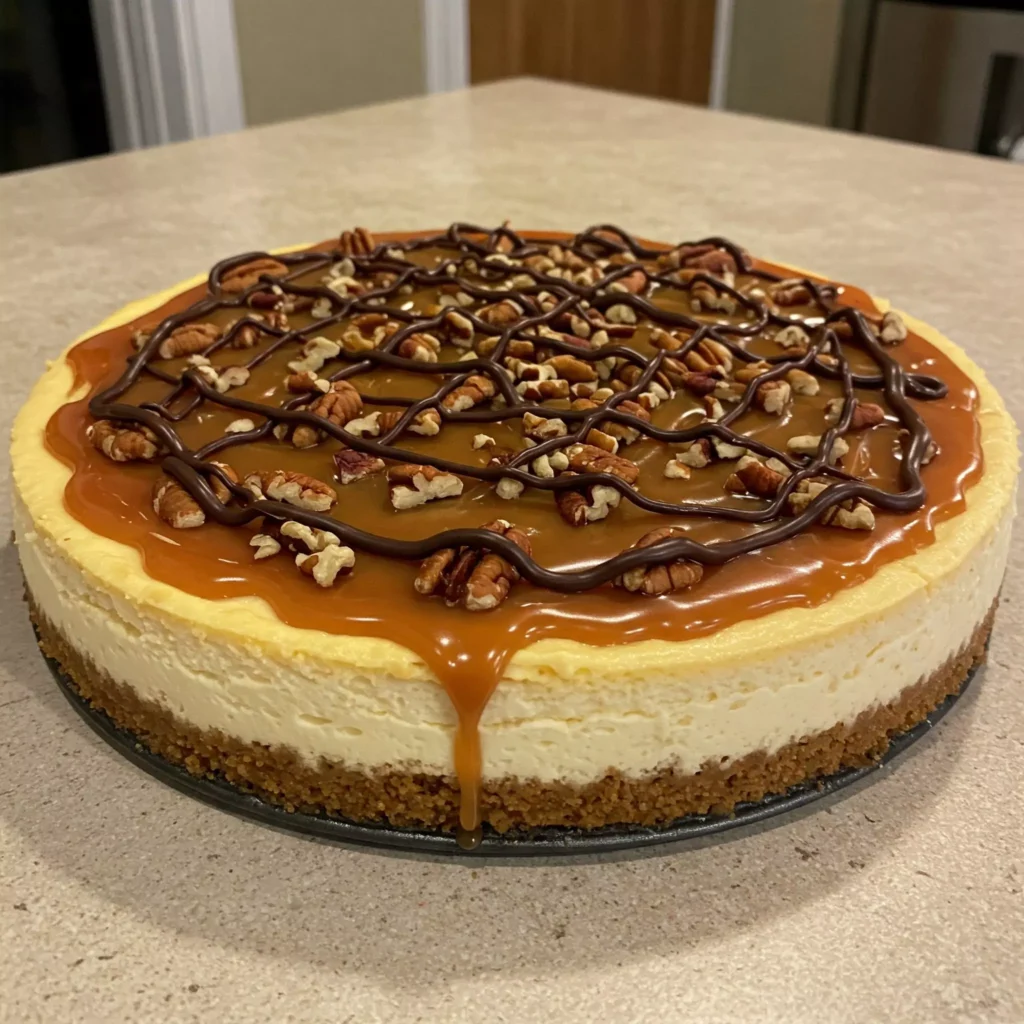
Step 7: Dress It Up! The Fun Part!
Hooray! It survived the night (or the 6 hours)! Time to make it a proper Turtle Cheesecake. Run a thin knife or offset spatula around the edge to loosen it from the pan, then carefully release the springform sides. Look at that beauty! Now, drizzle generously with caramel sauce. Let it drip seductively down the sides – don’t be shy! Shower it with those toasted pecans. Then, finish with drizzles of chocolate sauce or that ganache you made. Be artistic! Or just go Jackson Pollock on it. Whatever makes you happy!
Recipes You May Like
Serving Suggestions for Your Masterpiece
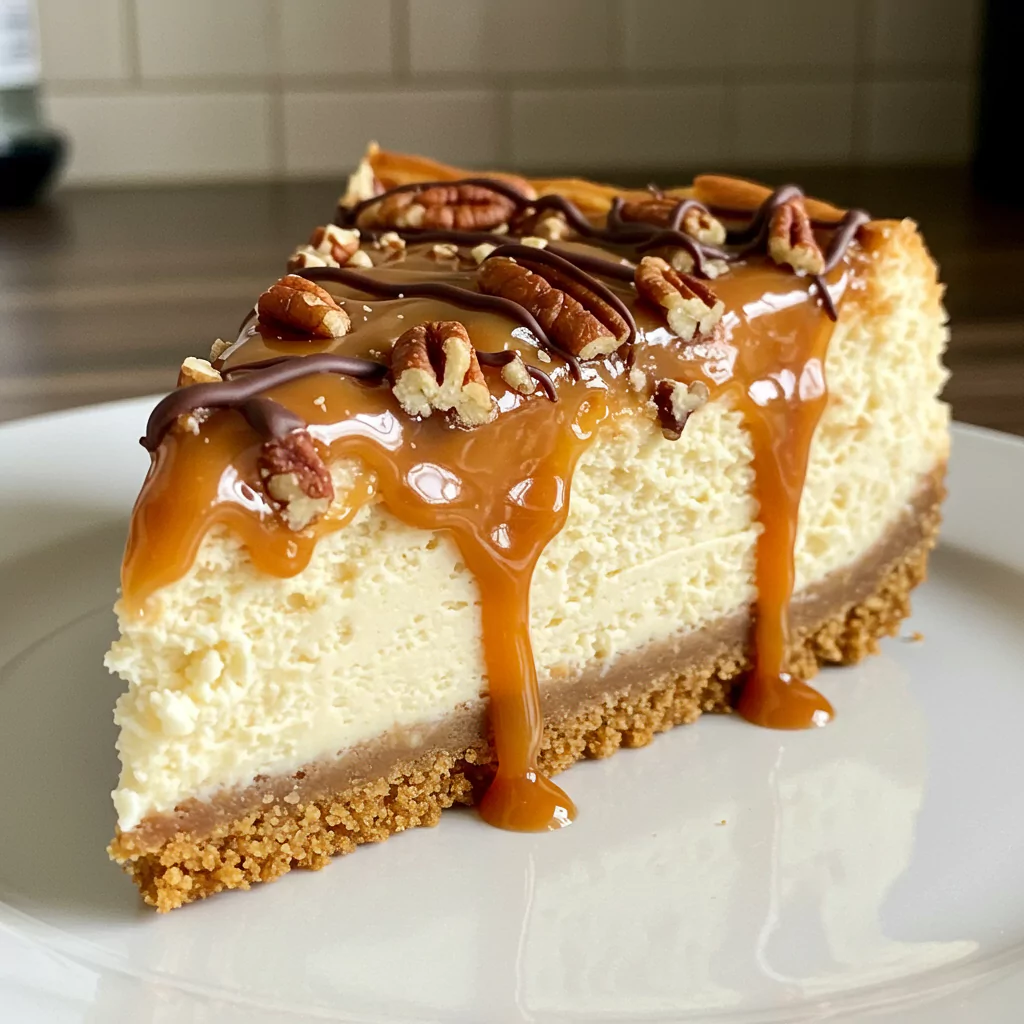
Honestly, just handing someone a slice of this Turtle Cheesecake is suggestion enough! But if you want to guild the lily:
- Slightly Chilled: I find it’s creamiest if you let slices sit out of the fridge for maybe 15-20 minutes before serving. Just softens slightly. Mmm.
- Extra! Extra!: Put out little jugs of extra caramel and chocolate sauce. Because why not? More toasted pecans on the side? Go for it!
- Fluffy Cloud: A dollop of lightly sweetened whipped cream is never wrong. Never. Vanilla ice cream? Also yes.
- The Perfect Drink: A strong cup of coffee or tea is its soulmate. Cuts through the richness like a dream. Imagine this on a chilly evening with a hot drink… pure comfort.
- Any Day is Cheesecake Day: Seriously, don’t wait for a holiday (though it’s great for those too!). Make a Tuesday feel special. You deserve this Turtle Cheesecake.
Keeping the Dream Alive (Storing Leftovers)
IF, and it’s a big if, you have leftovers, here’s the plan:
- Fridge Life: Cover it tightly! Back in the fridge it goes. Use an airtight container for slices, or just cover the whole thing well. It’ll be delicious for 4-5 days. The crust might lose a little crispness, but honestly? Still amazing.
- Freezer Option: Yes, you can freeze it! Best to freeze it before topping, or freeze individual slices for emergencies. Wrap it like you’re prepping it for an arctic expedition – tight plastic wrap, then foil. It’s good for a month or two. Thaw it overnight in the fridge. Add toppings after thawing for the best look and texture. Does freezing change it? Maybe slightly less creamy, but still darn good.
- Plan Ahead Power: The crust can hang out, covered, at room temp for a day. And the whole cheesecake needs to be made ahead for chilling, so it’s perfect for prepping the day before you want to serve it. Less stress!
Okay, Why Am I SO Obsessed With This Thing?
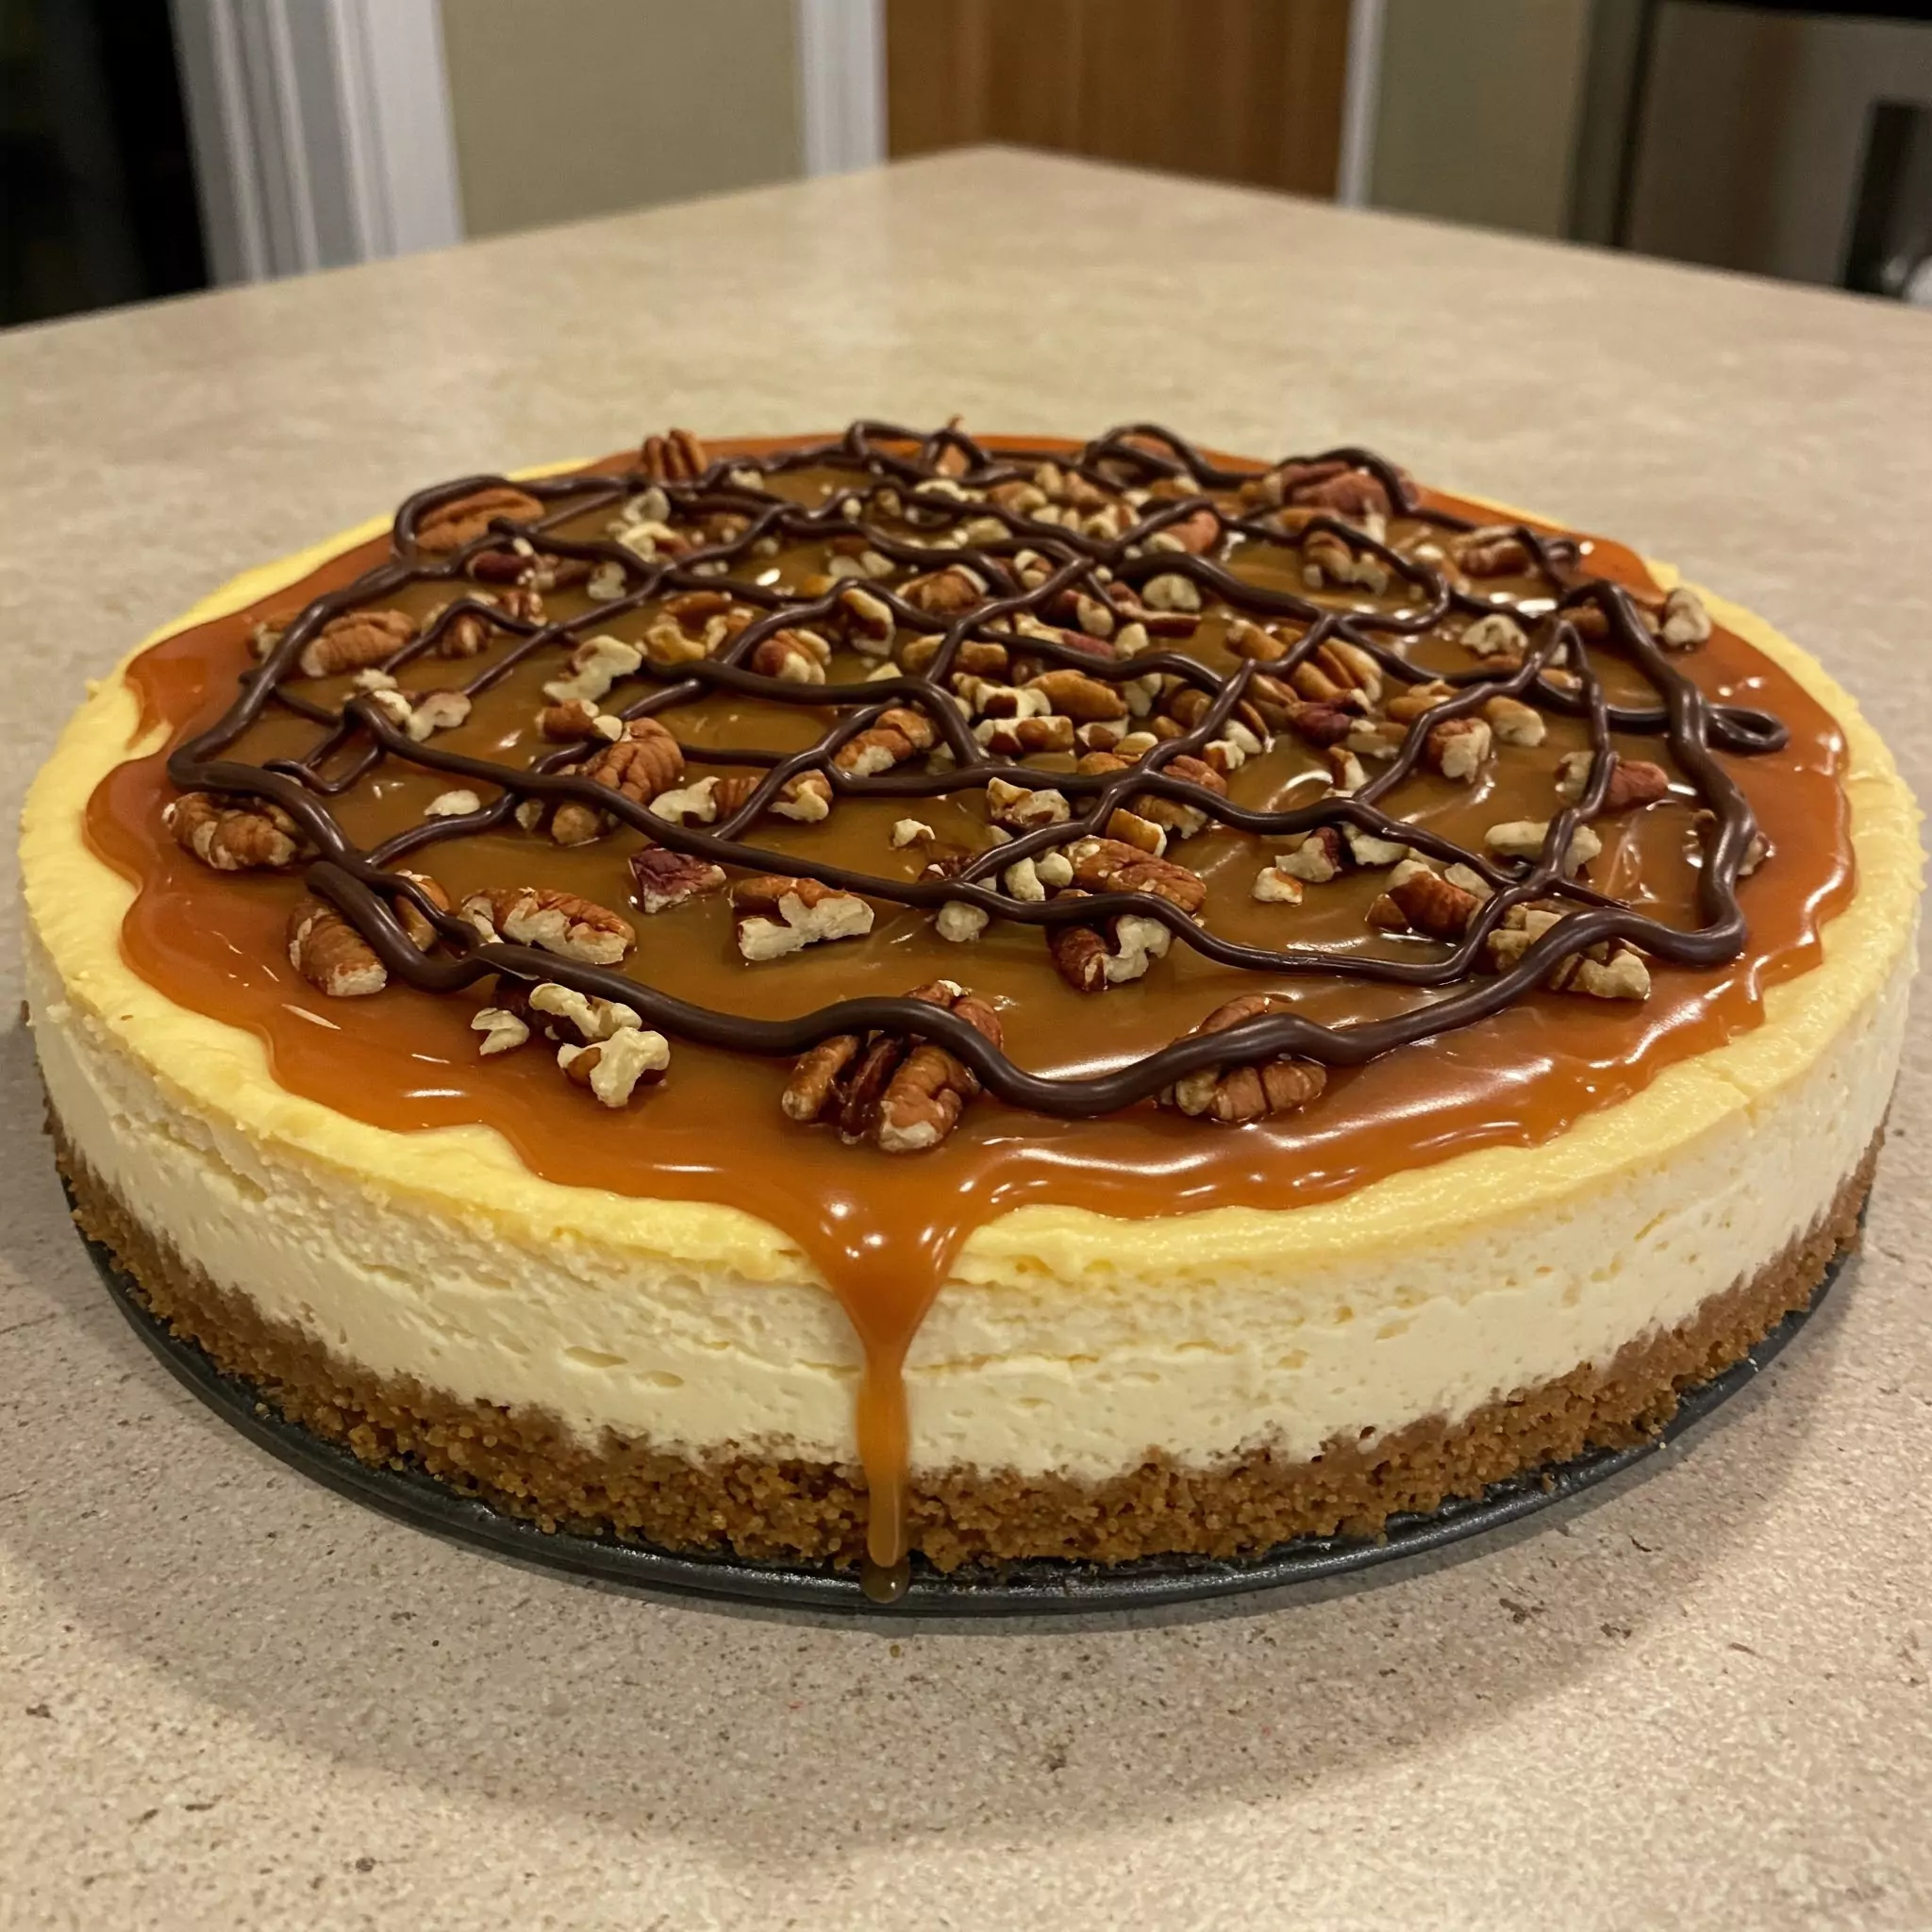
Look, I just really, really love this Turtle Cheesecake. It hits all the right notes for me. That crunchy/creamy/chewy/nutty/chocolatey/caramelly combination is just… fire. It feels special, you know? Like you put love and effort into it, and the result is this incredibly decadent, show-stopping dessert. Seeing people’s faces light up when they take a bite? That’s the best reward. It’s not just food; it’s about sharing something wonderful.
So please, pretty please, give this recipe a whirl! I genuinely think you’ll fall in love too. It might just become your go-to “wow ’em” dessert. And hey, if you do make this Turtle Cheesecake, you HAVE to come back and tell me about it in the comments! Seriously, I wanna hear everything – did you love it? Did you change anything? Let’s chat cheesecake! Happy baking, you awesome human!
Turtle Cheesecake
Rich, creamy homemade Turtle Cheesecake loaded with pecans, caramel & chocolate. The ultimate decadent dessert awaits. Make it today!
Ingredients
- 1 ½ cups Graham Cracker Crumbs (from about 10-12 full crackers, or buy pre-crushed!)
- 6 tablespoons Unsalted Butter (melted down nice and liquid)
- ¼ cup Granulated Sugar
- ¼ cup Finely Chopped Pecans (Optional, but adds a lovely nutty base!)
- Four 8-ounce blocks (32 oz total) Cream Cheese (Seriously, let it get really soft at room temp!)
- 1 ½ cups Granulated Sugar
- 4 Large Eggs (Let 'em hang out on the counter to reach room temp too)
- 1 cup Sour Cream (Full-fat, room temperature please!)
- 2 teaspoons Pure Vanilla Extract (The good stuff!)
- 2 tablespoons All-Purpose Flour (Our little anti-crack insurance)
- 1 ½ cups Pecans (Roughly chopped and toasted – don't skip the toasting!)
- About 1 cup Thick Caramel Sauce (Store-bought is great, salted caramel is divine!)
- About ½ cup Chocolate Sauce or Ganache (Use your fave, or make a quick ganache!)
Instructions
Step 1: Oven On, Pan Prepped!
Get that oven cranked up to 350°F (175°C). Now, grab your 9-inch springform pan. Give the bottom/sides a quick grease or line the bottom circle with parchment paper (makes getting it off the base easier later). Okay, here’s the slightly weird but essential step: Wrap the outside of the pan – bottom and sides – really well with a couple of layers of heavy-duty aluminum foil. Make sure it’s snug! This is for the water bath later; keeps water OUT. Soggy crust = tragic.
Step 2: Making the Crusty Base
Mix your graham cracker crumbs, sugar, and those optional pecans (do it!) in a bowl. Pour in the melted butter. Stir it all up. It should look kinda like wet sand and clump together when you pinch it. Now, press this mixture firmly into the bottom and about an inch up the sides of your foil-wrapped pan. Use a flat-bottomed glass or measuring cup to really pack it down evenly. Bake this for 10 minutes. Let it cool on a wire rack while you tackle the filling. Keep the oven on!
Step 3: Whipping Up That Dreamy Filling
Big bowl time! Toss in your room temperature cream cheese. Using an electric mixer (stand or hand, whatever you’ve got), beat it on medium until it’s DEAD smooth. No lumps allowed! Scrape the bowl down a couple of times to make sure. Once it’s looking like creamy perfection, slowly add the sugar while mixing, until it’s all smooth again. Now, the eggs – add them one at a time, mixing on LOW speed just until the yellow disappears. Seriously, don’t overmix the eggs! That’s a one-way ticket to Crack City. Gently stir in the room temp sour cream, vanilla, and flour on low, just until it’s all blended. Stop mixing! The batter should be thick, pale, and gorgeous.
Step 4: Assembly and the Spa Treatment (aka Water Bath)
Pour that beautiful batter right over your crust in the pan. Smooth the top gently. Now, the water bath! I know, it sounds fussy, but it’s KEY for a creamy, crack-free cheesecake. Carefully place your foil-wrapped pan into a bigger roasting pan. Pour HOT water into the bigger roasting pan – go slowly! You want the water to come about halfway up the sides of your cheesecake pan, but DON’T splash any water into the cheesecake. Gently, carefully, slide the whole setup into the oven. You got this!
Bake for 70-80 minutes. How do you know it’s done? The edges will look set, maybe slightly puffed. But the center (like, the inner couple of inches) should still have a distinct wobble, like Jell-O, when you gently nudge the pan. If it’s totally solid, it’s likely overbaked.
Step 5: The Slow Cool Down (Super Important!)
Okay, deep breaths. Resist the urge to just pull it out! Turn the oven completely OFF. Crack the oven door open just a bit (prop it with a wooden spoon if needed) and leave the cheesecake right there in the cooling oven for one full hour. This gentle cool-down is another big anti-crack strategy. After its spa hour, carefully lift the cheesecake pan out of the water bath (you can peel off the soggy foil now – careful, it’s hot!) and let it cool completely on a wire rack on your counter. Probably another hour or so.
Step 6: Refrigerator Hibernation
Once it’s cool to the touch (no sneaky warm spots!), cover it loosely with plastic wrap. Try not to let the wrap sag onto the surface. Now, into the fridge it goes! For how long? Minimum 6 hours. No cheating! Overnight is honestly the gold standard. This lets it firm up completely and somehow, the flavors just get better. Patience, grasshopper!
Step 7: Dress It Up! The Fun Part!
Hooray! It survived the night (or the 6 hours)! Time to make it a proper Turtle Cheesecake. Run a thin knife or offset spatula around the edge to loosen it from the pan, then carefully release the springform sides. Look at that beauty! Now, drizzle generously with caramel sauce. Let it drip seductively down the sides – don’t be shy! Shower it with those toasted pecans. Then, finish with drizzles of chocolate sauce or that ganache you made. Be artistic! Or just go Jackson Pollock on it. Whatever makes you happy!
Notes
Nutrition Information:
Yield: 12 to 16 ServingsAmount Per Serving:Calories: ~650 calories per serving
There are no reviews yet. Be the first one to write one.