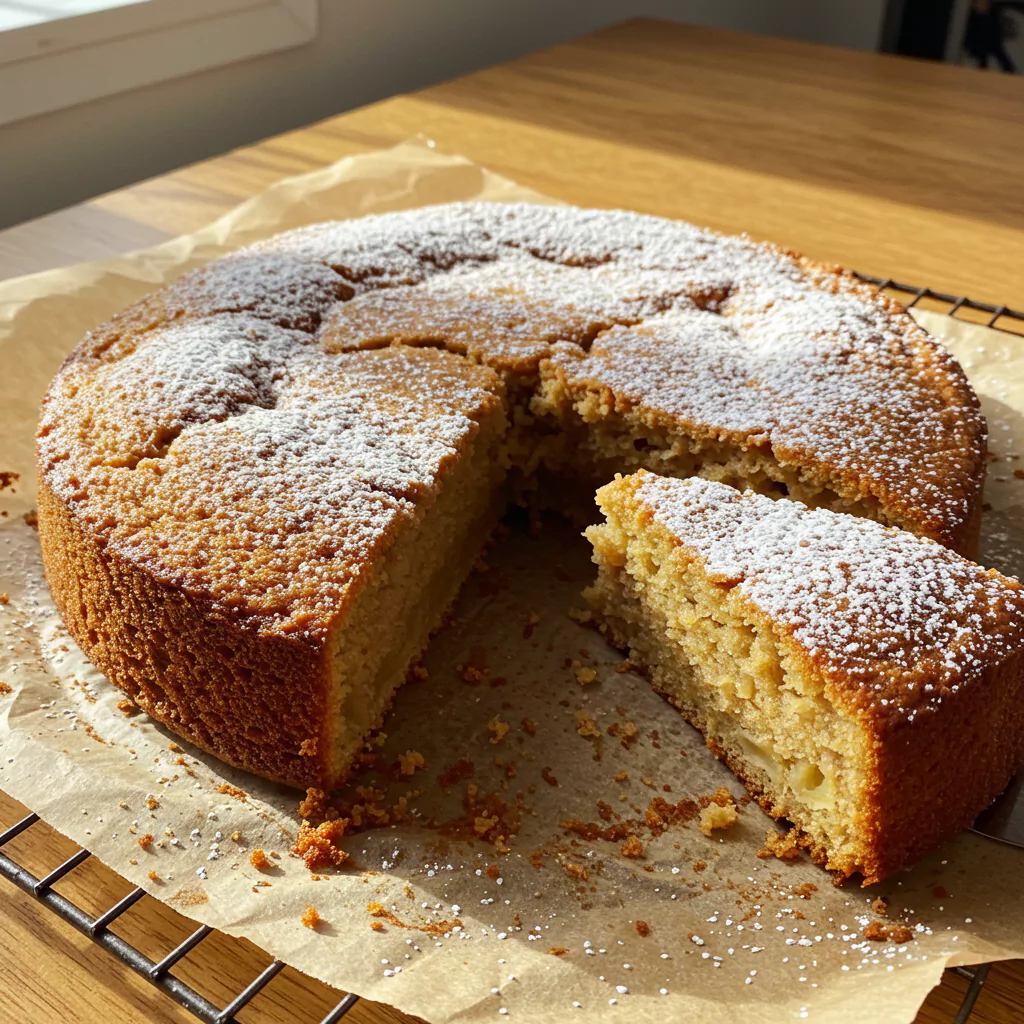
Applesauce Cake Recipe: Yeah, It’s THAT Easy & SO Good
Okay, real talk? This applesauce cake recipe is more than just a recipe in my binder – it’s my go-to “everything will be okay” bake. I swear, I must have baked this thing fiftyleven times back when I was trying to nail it. Picture me, covered in flour, muttering about cinnamon levels while my poor family patiently ate yet another slightly-off version. Bless ’em. The mission? A ridiculously yummy, tender, perfectly spiced cake that didn’t involve fifteen weird ingredients or hours of fuss. And honestly? This. Is. It. Why am I so obsessed? Because it’s nearly impossible to mess up, uses basic pantry stuff, and turns out insanely good every single time. Seriously, this applesauce cake recipe is gonna be your new best friend. It’s just pure, simple, cozy happiness you can bake right now.
Alright, What Do We Need? Let’s Raid the Kitchen for this Applesauce Cake Recipe!
Okay, let’s get our ingredients lined up! This is where the magic starts, grabbing all these humble things that are about to become something amazing. I still get a kick out of it! We’re going for that super tender crumb and layers upon layers of warm, happy spice flavor.
- Flour: Just regular all-purpose works great. Need 1.5 cups (that’s about $180$g). It’s the trusty foundation. Side note: I’ve experimented with swapping in some whole wheat (maybe half?) – it works! Makes it a bit heartier, more rustic. Your call! And if you need gluten-free, a good 1-to-1 GF flour blend should work just fine.
- The Spice Squad (aka the best part!):
- 1.5 teaspoons Ground Cinnamon: The MVP. Gives it that unmistakable warmth.
- 1/2 teaspoon Ground Nutmeg: So cozy. Freshly grated is next level if you have it!
- 1/4 teaspoon Ground Cloves: Don’t need much, but it adds this deep, warm background note. (Sometimes I throw in 1/4 tsp ground ginger too, if I’m feeling wild!)
- Things to Make it Puff Up:
- 1 teaspoon Baking Soda: It hangs out with the applesauce and works some rising magic.
- 1/2 teaspoon Baking Powder: Just a little backup for good measure.
- Salt: 1/2 teaspoon. Please don’t skip it! It sounds weird in cake, but it totally makes the sweet and spicy flavors pop.
- Fat = Flavor & Tenderness:
- 1/2 cup (1 stick or $113$g) Unsalted Butter, softened up. Butter just makes life better, doesn’t it? BUT: You can totally swap this for the same amount of neutral oil (like canola or vegetable). I’ve done it loads – makes the cake almost even more tender, though maybe slightly less buttery tasting. Your call!
- Sweet Stuff:
- 1/2 cup ($100$g) Plain old Granulated Sugar
- 1/2 cup ($110$g) Packed Light Brown Sugar: Love brown sugar here – that hint of molasses adds moisture and depth.
- Eggs: Two large ones. Try to let them hang out on the counter for a bit first so they’re not icy cold. They help hold everything together. (Got egg-free needs? Check the tips below!)
- Vanilla: 1 teaspoon. The good stuff if you have it!
- Our Star Player – Applesauce: One whole cup ($245$g) of unsweetened applesauce. Go for creamy if you can find it. This is the secret weapon for incredible moisture and that subtle fruitiness. Unsweetened is best so you control the sweetness. If you only have sweetened, maybe just pull back a tiny bit on the other sugars. No biggie.
- Optional Fun Bits (Go wild! Or don’t!):
- Love texture? Toss in 1/2 cup of chopped walnuts or pecans. So good.
- Chewy surprises? 1/2 cup of raisins or dried cranberries works great.
How Long Does This Take? Spoiler: Not Forever!
Let’s be honest, sometimes you need cake, like, yesterday. The awesome news? This recipe is pretty quick! Here’s the rough timeline:
- Getting Your Act Together (Prep): Maybe 15, 20 minutes tops? It’s mostly just measuring and a bit of mixing. Perfect amount of time to put on a good podcast episode.
- Oven Time (Baking): Usually around 35-45 minutes for me. Ovens are weird little beasts, though, so peek around 35 mins. Trust your nose, too! That amazing smell is a good clue.
- Grand Total: So, yeah, maybe an hour, give or take, from thinking “Mmm, cake” to actually having warm cake cooling on your counter. Way faster than scrolling endlessly trying to pick a movie, right? Plus, you feel like a rockstar because you made it! Just gotta remember the cooling time – probably another 20-30 minutes before you should slice into it. Patience makes it perfect!
Step 1: Crank the Oven, Prep the Pan!
Okay, first thing’s first. Get that oven preheating to 175∘C (350∘F). Find a pan – a 9-inch round or square is perfect, or an 8×8 inch if you want it a little chunkier. Now, treat that pan right: grease it up really well (butter, spray, whatever you use). I’m a big fan of lining the bottom with parchment paper too – makes getting the cake out foolproof, and who needs that stress?
Step 2: Dry Ingredients, Get Together!
Grab a bowl – not a tiny one. Toss in the flour, all those lovely spices (cinnamon, nutmeg, cloves!), the baking soda, baking powder, and that important pinch of salt. Give it a good whisk together. Whisking is key here – it breaks up clumps and makes sure everything is evenly mixed. No surprise bites of just baking soda, please! Set this bowl aside for a sec.
Step 3: Creamy Dreamy Stage
Alright, bigger bowl time (or your stand mixer bowl!). Put the softened butter and both sugars in there. Now, beat ’em together until they look lighter in color and kind of fluffy. This takes a couple of minutes usually, and it whips air into the batter, which is good! Scrape the bowl sides down once or twice. Okay, now add the eggs, one by one, mixing after each until it’s blended in. Lastly, splash in the vanilla. Hot tip: Room temp butter and eggs really do mix better and make the cake fluffier!
Step 4: Applesauce In & Mix It (But Gently!)
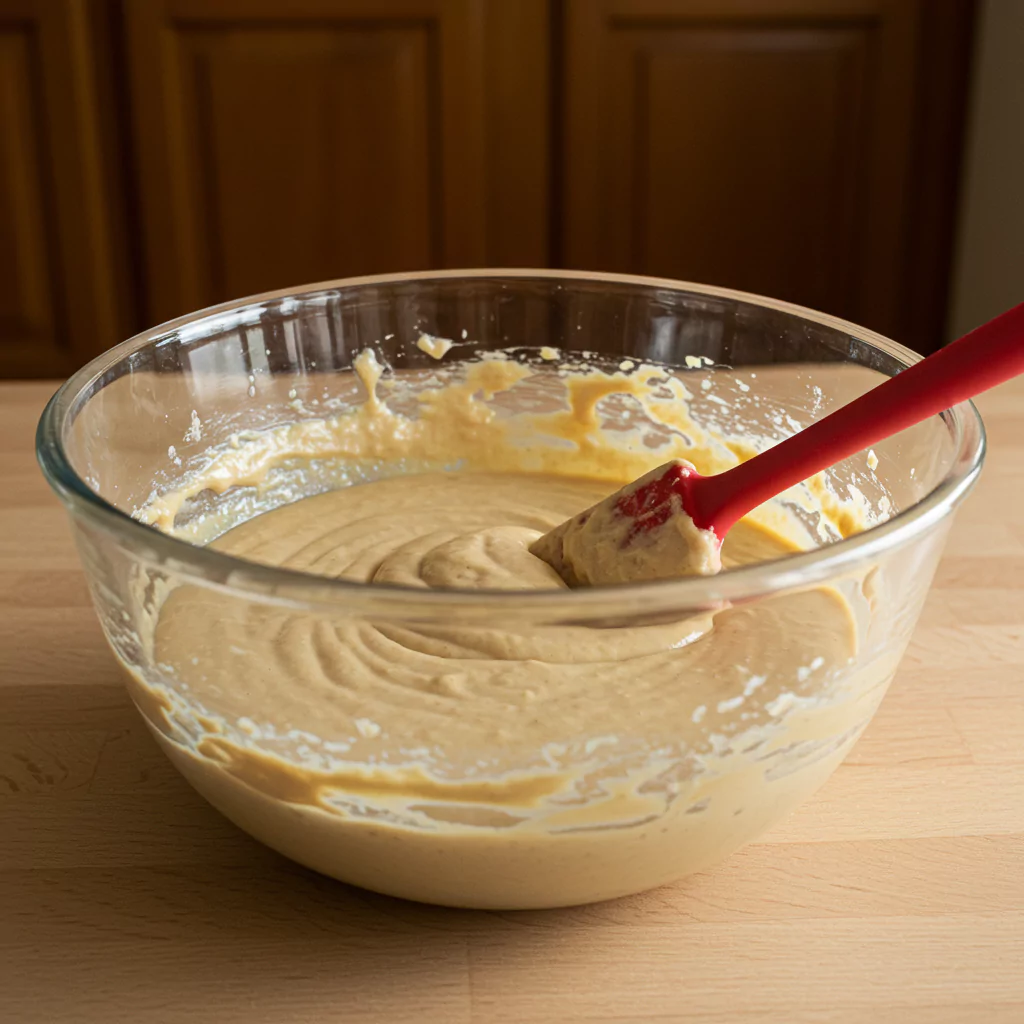
Pour your lovely applesauce into the butter/sugar/egg mix. Give it a quick stir on low speed just to combine. Now, grab your bowl of dry ingredients. Add them to the wet stuff in maybe two or three batches. Mix on the lowest speed possible, and only until you don’t see big streaks of flour anymore. Okay, listen up, this is important for this applesauce cake recipe: DO NOT OVERMIX! Stop as soon as it comes together. Seriously. Overmixing makes it tough. A few lumps are totally fine, even good!
Step 5: Stir in the Extras (If You Want ‘Em)
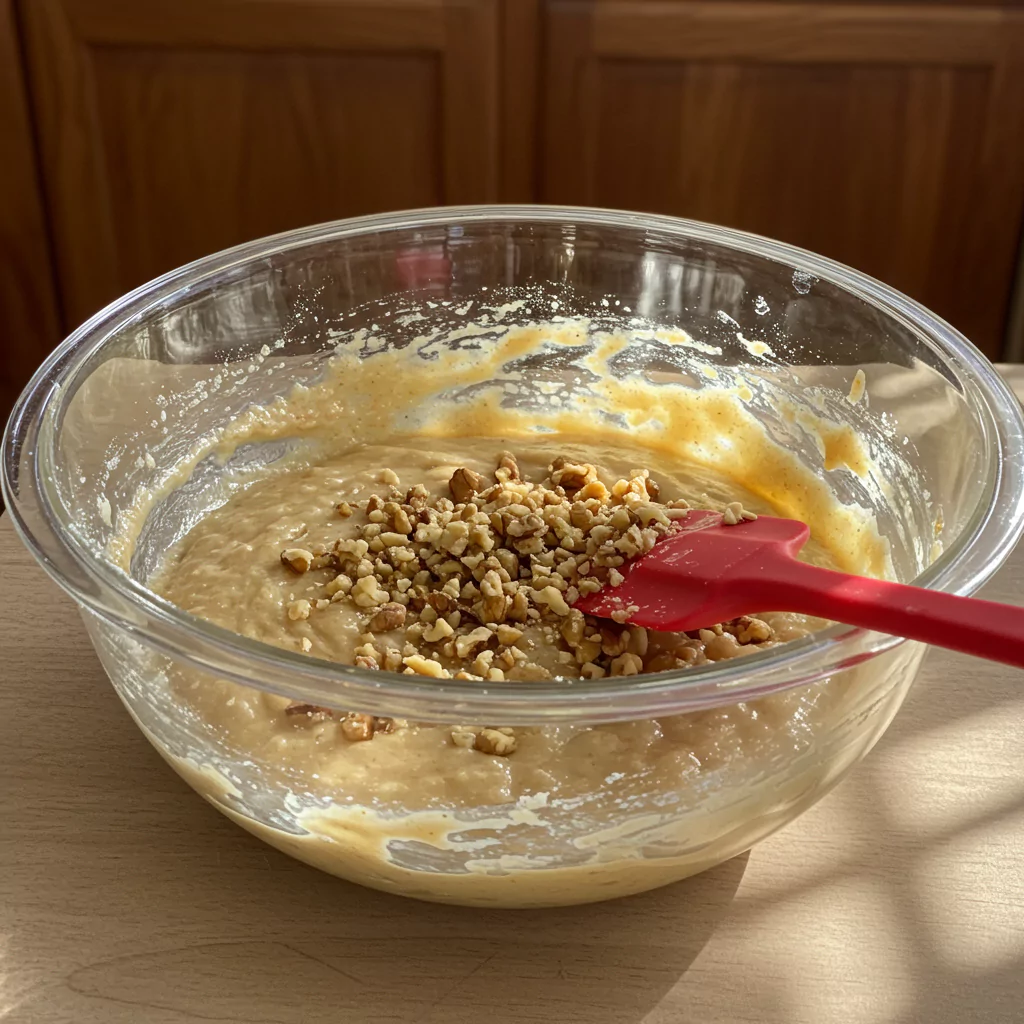
Using nuts or dried fruit? Now’s your moment. Gently fold them into the batter with a spatula. Just a few turns until they’re mixed in. Don’t go stirring like crazy.

Step 6: Into the Oven It Goes!
Carefully scoop or pour that beautiful batter into the pan you prepped. Spread it out gently with your spatula so it’s mostly even. Now, into the warm oven! Set a timer for 35 minutes, but keep an eye (and nose!) on it. You’re looking for golden brown edges, a top that feels a little springy when you lightly touch it, and the magic test: stick a toothpick right into the middle. If it comes out clean (no wet goo), it’s done! That incredible smell wafting through your house? You’re welcome.
Step 7: Let It Chill (Literally)
Carefully pull that beauty out of the oven (mitts!). Let the cake cool down in the pan on a wire rack for about 10-15 minutes. This lets it firm up a bit so it doesn’t fall apart. Then, if you used parchment, you can probably just lift it out. If not, run a thin knife around the edges to loosen it, put the wire rack on top of the pan, take a deep breath, and flip it over! Lift the pan off. Let it cool the rest of the way right there on the rack. Why the wait? It slices SO much better when it’s cool. Trust me on this one.
Recipes You May Like
Tweaks & Healthier-ish Ideas? You Bet!
Love this cake but wanna feel slightly more virtuous? Or need to adapt it? Easy peasy.
- More Fiber? Swap out up to half the regular flour for white whole wheat or regular whole wheat flour. Adds a nice nutty vibe!
- Less Sugar? You can usually knock back the total sugar by maybe 1/4 cup and it’ll still be great, especially with the applesauce helping out. Let those spices shine!
- Fat Tweaks: Wanna cut back a little? You can actually swap some of the butter/oil for more applesauce! Try replacing maybe 1/4 cup of the fat with applesauce. It works surprisingly well! Plain Greek yogurt can sometimes work too.
- Egg Free/Vegan Crew: Flax eggs are your friend! (For each egg: 1 tbsp ground flax + 3 tbsp water, let sit 5 mins). Or use a store-bought replacer. Use oil or vegan butter, obviously.
- Spice It Your Way! Hate cloves? Leave ’em out! Love ginger? Add more! This is your cake. Maybe a pinch of cardamom? Go for it!
Serving Up Your Masterpiece (aka The Best Part of this Applesauce Cake Recipe!)
Hooray! The cake is baked, cooled, and looking amazing. How do you serve this slice of pure joy from your applesauce cake recipe? Oh, let me count the ways…
- Simple & Sweet: A little shake of powdered sugar over the top. Looks pretty, tastes great. Done.
- The Perfect Partner: Cream cheese frosting. I mean, come on. Tangy frosting + spiced cake = match made in heaven. It’s worth the extra 5 minutes to whip some up!
- Warm with Ice Cream: Oh baby. Gently warm a slice (microwave for like 10 seconds) and add a scoop of good vanilla ice cream. Just… yes.
- Caramel Kiss: A drizzle of caramel sauce? Decadent and delicious. Salted caramel? Even better!
- Light & Fluffy: A big dollop of fresh whipped cream is never wrong. Maybe whip a tiny bit of cinnamon into the cream? Chef’s kiss.
- Breakfast of Champions: I fully endorse eating this cake for breakfast. With coffee? Perfection. It’s basically a muffin, just bigger and better. Don’t let anyone tell you otherwise.
How to Store Your Applesauce Cake Recipe Leftovers (If You Have Any!)
Okay, maybe you didn’t eat the whole thing in one go (teach me your ways!). If you have leftover applesauce cake recipe, here’s how to keep it tasting great:
- Countertop: Once it’s totally cool, stash it in an airtight container. It’ll be happy on your counter for 2-3 days, staying nice and tender. (Exception: if you frosted it with cream cheese frosting, it really needs to go in the fridge).
- Fridge: Need it to last longer? Airtight container in the fridge = good for up to a week. Sometimes the fridge can make cake a little dense, so I like to let slices warm up on the counter for a bit before eating.
- Freezer Power: Heck yes, this cake freezes beautifully! Wrap slices (or the whole thing) really well in plastic wrap, then foil, or pop into a freezer bag/container. It’s good for months! Just thaw it in the fridge or on the counter. Instant cake gratification later!
Okay, Why Am I SO Extra About This Applesauce Cake Recipe?
Honestly? Because it’s just good. It’s not fancy, it’s not complicated, it just delivers pure, cozy, deliciousness every single time. It feels like something my grandma would have baked (even though she didn’t). It’s reliable. It’s forgiving if you’re maybe not the most precise baker (ahem, me sometimes). That mix of tender cake, those perfect warm spices, the subtle sweetness from the applesauce… it just works.
It’s the cake I bake when someone needs cheering up, or when friends are coming over last minute, or honestly, just when I need a little pick-me-up. The smell alone is practically therapy. It makes my house feel like home.
So please, PLEASE, if you have applesauce lurking in your pantry, give this applesauce cake recipe a try. Make your kitchen smell amazing. Treat yourself.
And hey! If you DO bake it, would you pretty please come back and tell me about it in the comments? I seriously LOVE hearing how recipes turn out for you guys. Did you add anything fun? Who did you share it with? Did it make your day a little brighter? Let me know!
Happy baking, everyone!
Applesauce Cake Recipe
Moist & easy homemade Applesauce Cake Recipe! Perfectly spiced, simple ingredients for a cozy treat everyone loves. Try baking it today!
Ingredients
- 1.5 cups all-purpose flour
- 1.5 tsp ground cinnamon
- 0.5 tsp ground nutmeg
- 0.25 tsp ground cloves (maybe add 0.25 tsp ground ginger too!)
- 1 tsp baking soda
- 0.5 tsp baking powder
- 0.5 tsp salt
- 0.5 cup (1 stick) unsalted butter, nice and soft
- 0.5 cup granulated sugar
- 0.5 cup packed light brown sugar
- 2 large eggs (try to have them at room temp!)
- 1 tsp pure vanilla extract
- 1 cup unsweetened applesauce, creamy if possible
- Optional fun: 0.5 cup chopped walnuts or pecans
- Optional fun: 0.5 cup raisins or dried cranberries
Instructions
Step 1: Crank the Oven, Prep the Pan!
Okay, first thing’s first. Get that oven preheating to 175∘C (350∘F). Find a pan – a 9-inch round or square is perfect, or an 8×8 inch if you want it a little chunkier. Now, treat that pan right: grease it up really well (butter, spray, whatever you use). I’m a big fan of lining the bottom with parchment paper too – makes getting the cake out foolproof, and who needs that stress?
Step 2: Dry Ingredients, Get Together!
Grab a bowl – not a tiny one. Toss in the flour, all those lovely spices (cinnamon, nutmeg, cloves!), the baking soda, baking powder, and that important pinch of salt. Give it a good whisk together. Whisking is key here – it breaks up clumps and makes sure everything is evenly mixed. No surprise bites of just baking soda, please! Set this bowl aside for a sec.
Step 3: Creamy Dreamy Stage
Alright, bigger bowl time (or your stand mixer bowl!). Put the softened butter and both sugars in there. Now, beat ’em together until they look lighter in color and kind of fluffy. This takes a couple of minutes usually, and it whips air into the batter, which is good! Scrape the bowl sides down once or twice. Okay, now add the eggs, one by one, mixing after each until it’s blended in. Lastly, splash in the vanilla. Hot tip: Room temp butter and eggs really do mix better and make the cake fluffier!
Step 4: Applesauce In & Mix It (But Gently!)
Pour your lovely applesauce into the butter/sugar/egg mix. Give it a quick stir on low speed just to combine. Now, grab your bowl of dry ingredients. Add them to the wet stuff in maybe two or three batches. Mix on the lowest speed possible, and only until you don’t see big streaks of flour anymore. Okay, listen up, this is important for this applesauce cake recipe: DO NOT OVERMIX! Stop as soon as it comes together. Seriously. Overmixing makes it tough. A few lumps are totally fine, even good!
Step 5: Stir in the Extras (If You Want ‘Em)
Using nuts or dried fruit? Now’s your moment. Gently fold them into the batter with a spatula. Just a few turns until they’re mixed in. Don’t go stirring like crazy.
Step 6: Into the Oven It Goes!
Carefully scoop or pour that beautiful batter into the pan you prepped. Spread it out gently with your spatula so it’s mostly even. Now, into the warm oven! Set a timer for 35 minutes, but keep an eye (and nose!) on it. You’re looking for golden brown edges, a top that feels a little springy when you lightly touch it, and the magic test: stick a toothpick right into the middle. If it comes out clean (no wet goo), it’s done! That incredible smell wafting through your house? You’re welcome.
Step 7: Let It Chill (Literally)
Carefully pull that beauty out of the oven (mitts!). Let the cake cool down in the pan on a wire rack for about 10-15 minutes. This lets it firm up a bit so it doesn’t fall apart. Then, if you used parchment, you can probably just lift it out. If not, run a thin knife around the edges to loosen it, put the wire rack on top of the pan, take a deep breath, and flip it over! Lift the pan off. Let it cool the rest of the way right there on the rack. Why the wait? It slices SO much better when it’s cool. Trust me on this one.
Notes
- Using room temperature butter and eggs really does make mixing easier.
- Play with the spices! If you love cinnamon, add a little more. Not keen on cloves? Leave 'em out.
- Keep leftovers covered tightly. It's good for 2-3 days on the counter, or longer in the fridge. Freezes great too!
- Check the full blog post for ideas on making it a bit healthier or different ways to serve it up (like with that yummy cream cheese frosting!).
Nutrition Information:
Yield: 8-10 ServingsAmount Per Serving: Calories: ~380 calories per serving (approximate)
Tried This Recipe? Share Your Thoughts!
There are no reviews yet. Be the first one to write one.