You guys. We need to have a serious chat about cookies. Not just any cookies. I’m talking about the kind that perfumes your entire house and makes you wonder how you ever lived without them. The kind that ruins all other chocolate chip cookies for you, in the best possible way. Yep, I’m talking about Brown Butter Chocolate Chip Cookies.
My cookie journey has been… extensive. Let’s just say my oven and I are very well acquainted. I was on this quest, you know? The hunt for the perfect chewy, chocolatey, just-right cookie. I baked batch after batch (my neighbors definitely benefited from my “testing phases”), and then one day, I discovered brown butter. Holy cow, what a game-changer! Just cooking butter a bit longer until it gets nutty and golden? It sounds simple, but it unlocks this insane depth of flavor. The first time I tried it, I almost burned it – gotta watch it like a hawk! – but once I nailed it? Mind. Blown. After tweaking and tasting (tough job, I know!), this recipe is the one. It’s the result of countless happy accidents and delicious experiments. These Brown Butter Chocolate Chip Cookies are chewy, packed with chocolate, and have that incredible nutty richness that just hits different. You HAVE to try them.
Your Shopping List for Brown Butter Heaven
Alright let’s raid the pantry (or the grocery store). Good ingredients make all the difference, especially when we are aiming for cookie perfection. Here’s what you’ll need for these amazing Brown Butter Chocolate Chip Cookies:
- Unsalted Butter (1 cup / 226g): This is our magic ingredient! Starting with unsalted lets us control the salt later. We’re gonna turn this into liquid gold, folks. Real butter only, please!
- Light Brown Sugar (1 cup packed / 213g): This guy brings the chew and that lovely molasses vibe. If you only have dark brown, that works too – just expect an even deeper, caramelly flavor. Yum.
- Granulated Sugar (1/2 cup / 100g): Helps get those slightly crispy edges we all fight over. The yin to brown sugar’s yang.
- Large Eggs (2): The glue that holds the whole glorious mess together. I always mean to use room temp eggs, but let’s be real, half the time I forget. It still works!
- Pure Vanilla Extract (2 teaspoons): Like a hype man for all the other flavors. If you have the good stuff, use it! Makes a difference.
- All-Purpose Flour (2 ½ cups / 300g): Gives our cookies structure. My best tip? Spoon the flour into your measuring cup and level it off. Don’t scoop straight from the bag, or you’ll pack it in and might get tough cookies. (If you’re gluten-free, I’ve had good luck with quality 1:1 baking blends here).
- Baking Soda (1 teaspoon): Gives ’em lift and helps with browning. Double-check that yours isn’t ancient – fresh baking soda matters!
- Salt (1 teaspoon): SO important. It cuts the sweetness and makes the butter and chocolate sing. Don’t skip it!
- Semi-Sweet Chocolate Chips or Chunks (2 cups / 340g): The main event! Chips, chunks chopped from a bar… go wild! I personally love a mix – maybe some dark chocolate chunks and classic semi-sweet chips? More chocolate = more happiness.
- Flaky Sea Salt (Optional, but is it really?): That fancy-looking salt you sprinkle on top right at the end? DO IT. It looks amazing and gives these little pops of salty goodness. Total game-changer.
Let’s Talk Time: Good Things Come to Those Who Wait (Especially for Chilled Dough!)
Okay, deep breaths. Making awesome Brown Butter Chocolate Chip Cookies isn’t hard, but it’s not instant gratification either. That chilling step? It’s the secret handshake for amazing texture, so don’t skip it!
- Getting Your Hands Dirty (Browning Butter & Mixing): About 20 minutes, give or take. Maybe 10 minutes to brown the butter (keep an eye on it!), let it cool a tad, then another 10ish minutes to mix everything up. Totally manageable.
- The Waiting Game (Chilling): This is where the magic happens. You need at least 1 hour in the fridge. But honestly? If you can wait 24 hours, or even up to 3 days? The flavor gets ridiculously good. It lets everything mingle and get happy, plus it stops your cookies from spreading out like sad little pancakes. TRUST ME ON THIS.
- Bake Time!: Usually 10-12 minutes per tray.
- Grand Total (with minimum chilling): You’re looking at roughly 1 hour and 30 minutes from start to biting into a warm cookie.
Yeah, it takes a bit longer than whipping up a batch from a mix or a super basic recipe – maybe an extra 30-45 minutes total compared to the speediest options, mostly due to chilling. But think of that extra time as investing in pure, unadulterated cookie joy. The flavor payoff is HUGE.
Your Step-by-Step Guide to Cookie Nirvana
Alright, sleeves up? Let’s bake some incredible Brown Butter Chocolate Chip Cookies! Just follow along, you got this.
Step 1: Brown That Butter (Where the Magic Starts!)
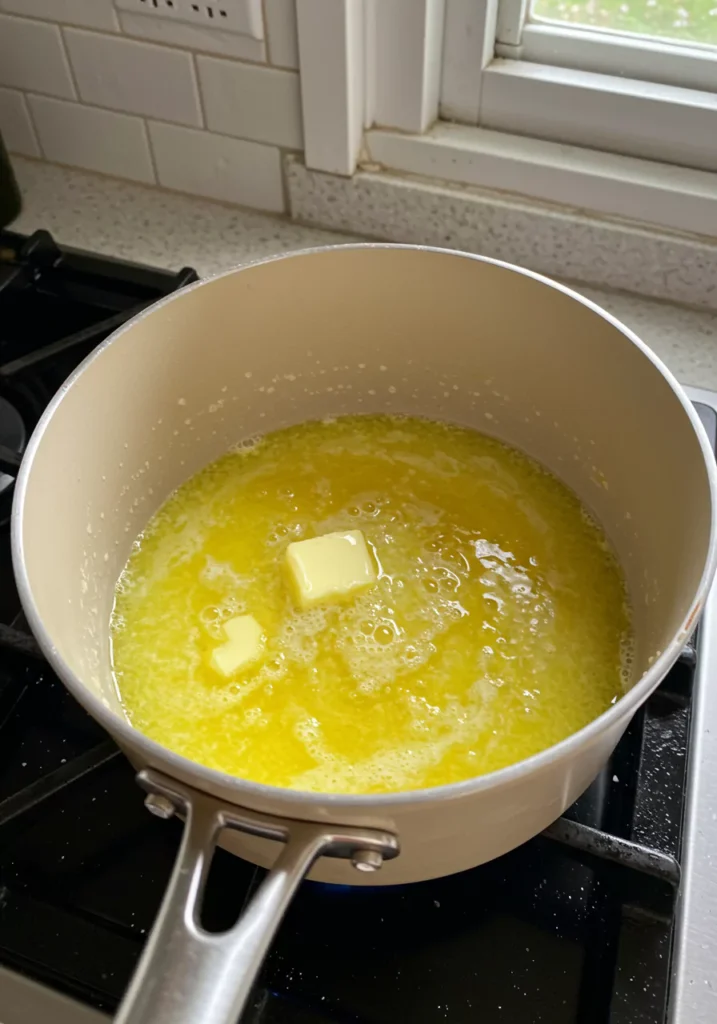
Grab a saucepan – preferably a light-colored one so you can see what’s happening. Toss in your butter over medium heat. Let it melt, bubble, foam up, then calm down. Keep swirling the pan or stirring pretty often. You’re watching for little toasty brown bits to appear on the bottom and for it to smell AMAZINGLY nutty. Should take 5-8 minutes after it’s fully melted. The second it hits that perfect amber color and smells incredible, pull it off the heat! Seriously, don’t wander off – it goes from perfect to burnt fast. Pour it immediately into a heatproof bowl, scraping all those yummy brown bits from the pan. That’s flavor gold right there!
Step 2: Let it Chill (Just a Bit)
Let that gorgeous brown butter cool down for 10-15 minutes. If it’s piping hot it’ll scramble your eggs. No bueno.
Step 3: Sugar & Wet Stuff
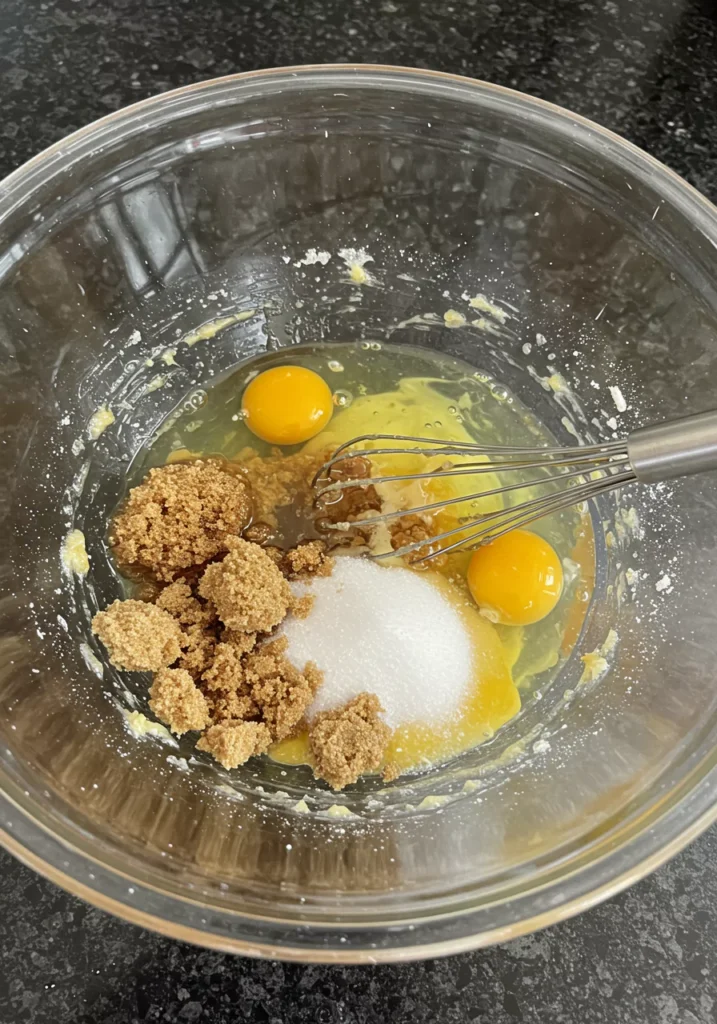
Add both brown and white sugars to the cooled butter. Whisk it like you mean it until it’s all smooth. Crack in the eggs, one at a time, mixing well after each. Stir in the vanilla. Easy!
Step 4: Dry Ingredients Party
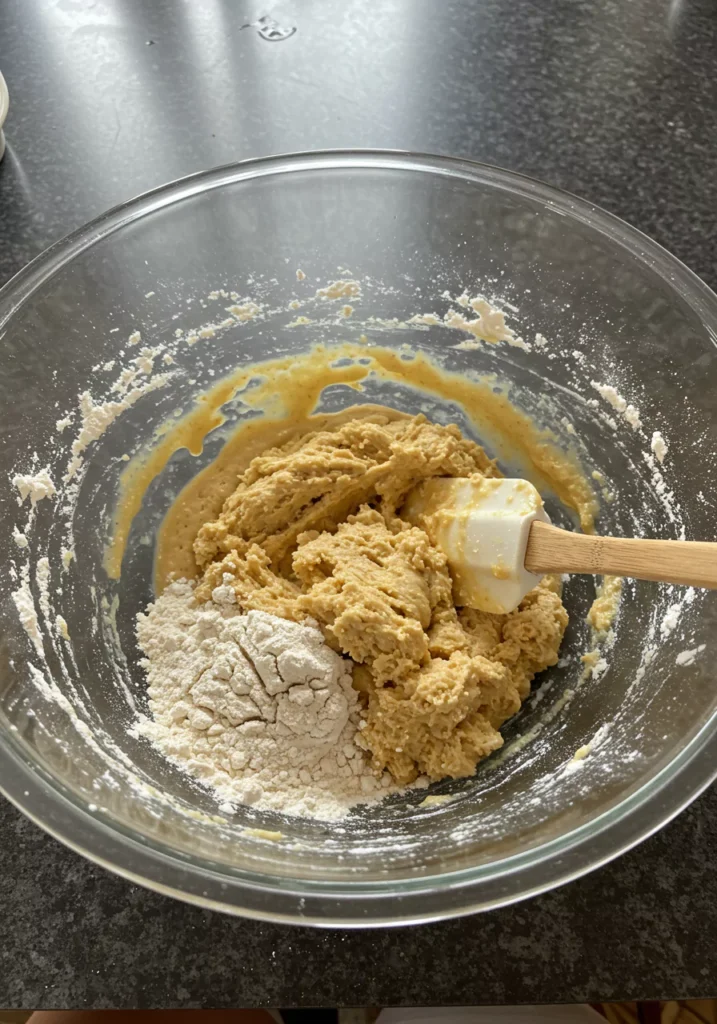
In a different bowl, just whisk together the flour, baking soda, and salt. This helps make sure you don’t get a clump of baking soda in one bite (yuck).
Step 5: Bring It All Together (But Gently!)
Okay, pour the dry stuff into the wet stuff. Mix it on low speed or just use a spatula until it just comes together. As soon as you don’t see dry flour streaks, STOP MIXING. For real. Overmixing makes tough cookies, and life’s too short for tough cookies.
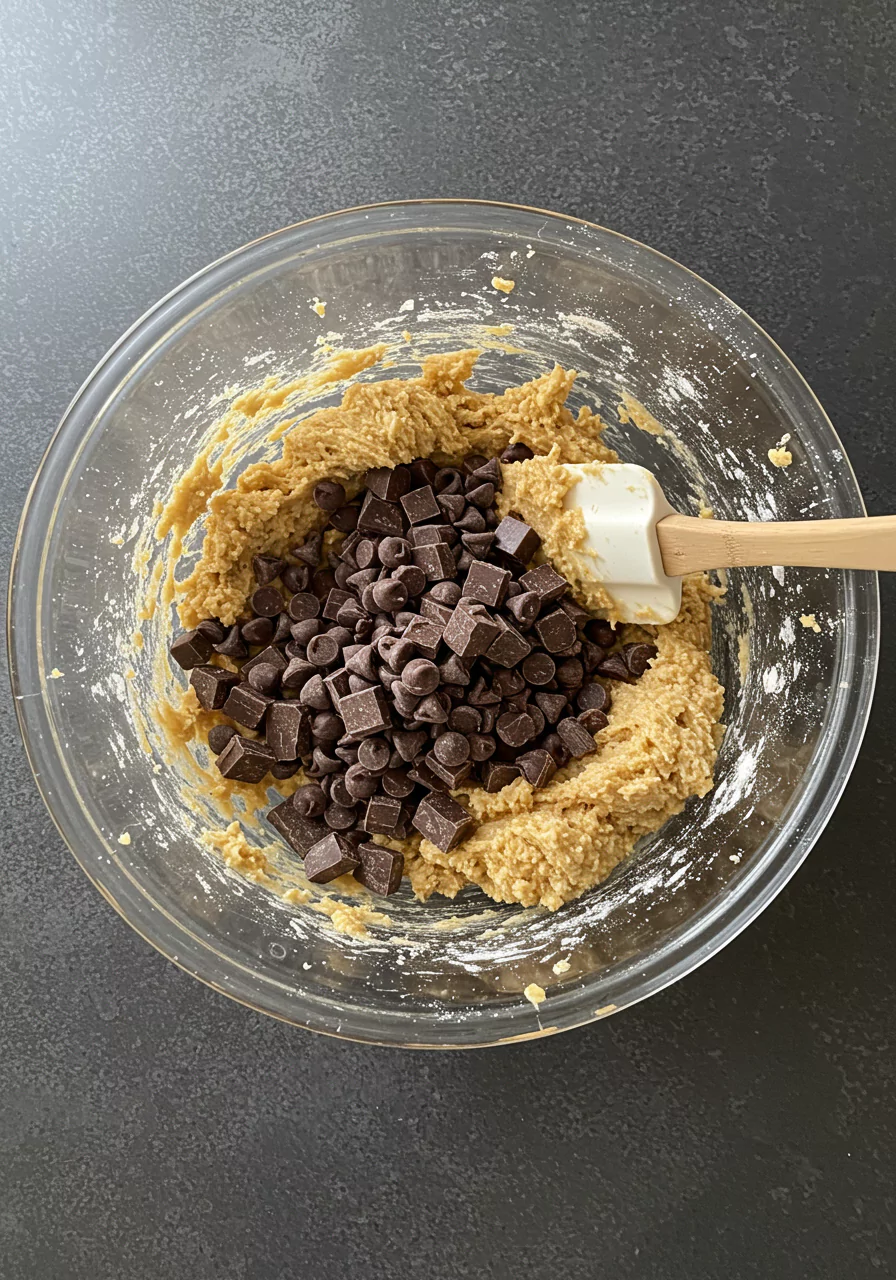
Step 6: CHOCOLATE!
Time for the best part! Gently fold in those glorious chocolate chips or chunks. I always hold back a few to poke onto the tops of the cookies before baking – makes ’em look extra pretty.

Step 7: Fridge Time! (Super Important!)
Cover the bowl tightly (plastic wrap works great) and stick it in the fridge. Like I said, minimum 1 hour. But if you can wait longer (24-72 hours)? Do it! This is KEY for the amazing texture and deep flavor of these Brown Butter Chocolate Chip Cookies.
Step 8: Get Ready to Bake!
When you can’t wait anyyy longer, preheat your oven to 375°F (190°C). Line your baking sheets with parchment paper (trust me, cleanup is way easier).
Step 9: Scoop ’em Up!
Use a cookie scoop (or just a couple of spoons) to make dough balls – maybe about 1.5-2 tablespoons each? Plop them onto your prepared baking sheets, leaving some space between them so they can spread a little. If you saved some chocolate chips, gently press them onto the tops now. Bake for 10-12 minutes. You want the edges to look set and golden brown, but the middles should still look a tiny bit soft or underdone. They finish cooking on the hot pan. My secret? I always pull them out a minute early for maximum chewiness.
Step 10: Cool Down (or Don’t!) & Sprinkle!
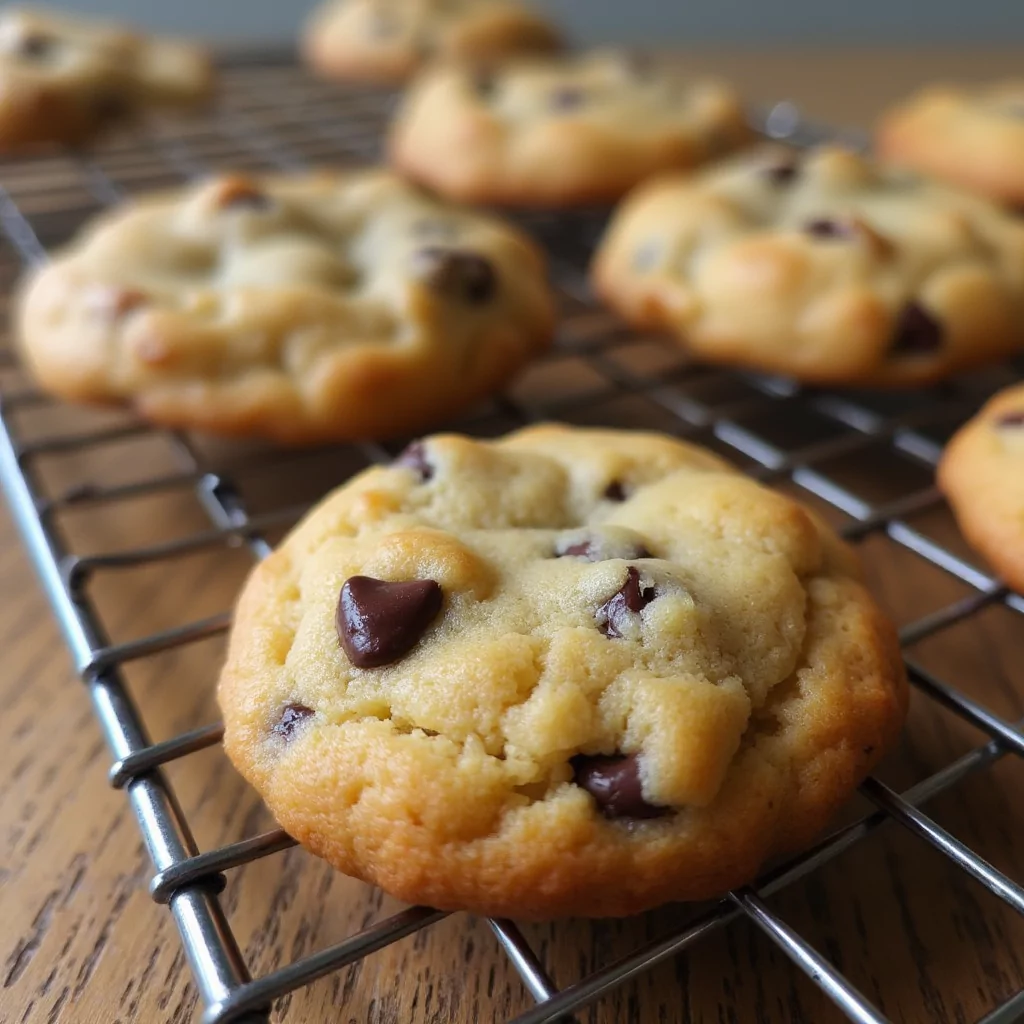
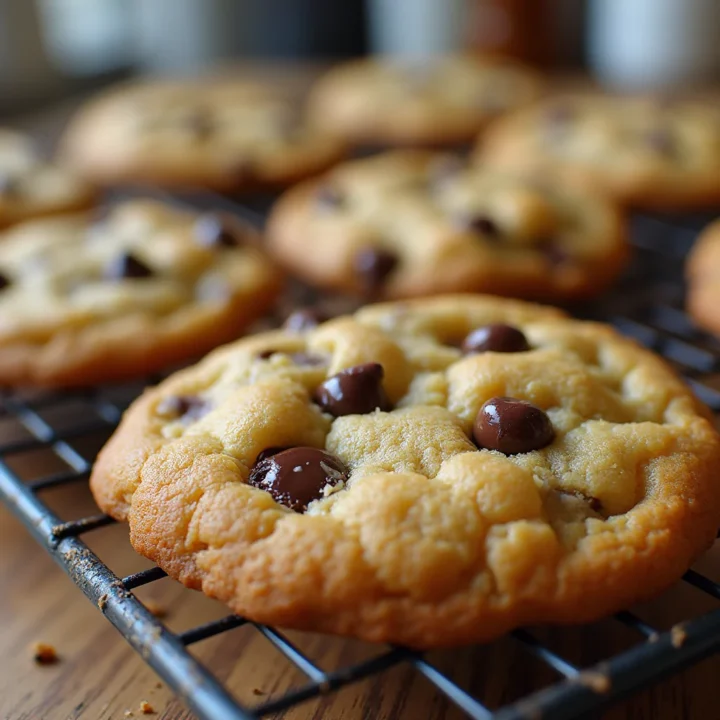
Let the cookies hang out on the baking sheet for about 5 minutes. This lets them firm up so they don’t fall apart when you move them. If you’re using flaky sea salt (please say yes!), sprinkle it on now while they’re warm. Then, carefully transfer them to a wire rack to cool completely… or, you know, sneak one while it’s still warm and gooey. Just be careful not to burn your tongue!
Looking for Healthier(ish) Options? We Can Try!
Listen, these are cookies. They’re meant to be a treat! But if you want to nudge them slightly towards the healthier side, here are a few ideas:
- Flour Power: Try swapping half the all-purpose flour for white whole wheat flour. Adds a bit of fiber, makes ’em a little heartier.
- Sugar Shift: You could reduce the sugar by a few tablespoons, but don’t go crazy, or the texture will change. The brown butter helps keep them flavorful even if slightly less sweet.
- Dark Side: Using dark chocolate (70% cacao or more) gives you more antioxidants and less sugar. Plus, it tastes amazing with the nutty butter!
- Bulk It Up: Toss in 1/2 cup of rolled oats or some chopped walnuts/pecans for extra texture and a little fiber/protein boost.
- Mini Me: Use a small cookie scoop! Smaller cookies = built-in portion control (kinda!).
Just remember, they’re still Brown Butter Chocolate Chip Cookies, meant for enjoyment!

Recipes You May Like
How to Serve These Beauties (Besides Straight Into Your Mouth)
Okay, obviously eating them warm off the rack is option number one. But let’s elevate the experience!
- The Obvious: A big glass of icy cold milk. Duh. Perfection.
- Warm & Wonderful: Gently warm a cookie (microwave for like 10 seconds) and top with a scoop of really good vanilla bean ice cream. Heaven.
- Breakfast of Champions?: Crumble one over Greek yogurt or even your oatmeal. Don’t knock it ’til you try it!
- Coffee’s Best Friend: Dunking one of these nutty Brown Butter Chocolate Chip Cookies into your morning coffee? YES. Absolutely yes.
- Ice Cream Sammies: Let two cookies cool completely. Put a scoop of your fave ice cream between them. Roll the edges in mini chocolate chips if you’re feeling extra fancy. Oh my.
- Show Off: Arrange them on your prettiest plate for guests. They disappear FAST.
My go-to move? That sprinkle of flaky sea salt right after they come out of the oven. It just takes them over the top.
Storing Your Treasure (If You Have Leftovers!)
Got leftover Brown Butter Chocolate Chip Cookies? First of all, how?! Second, here’s how to keep them tasting great:
- On the Counter: Once they’re totally cool, stash them in an airtight container. They’ll stay yummy and chewy for 3-5 days. Some folks add a slice of bread to the container to keep them soft – works surprisingly well!
- Freeze Baked Cookies: Let them cool completely. Freeze them flat on a baking sheet until solid, then toss them into a freezer bag or container (put parchment between layers if you want). They’re good for 2-3 months. Just thaw on the counter or zap ’em gently.
- Freeze the Dough (MY FAVE!): Scoop the dough balls onto a parchment-lined tray, freeze ’em solid, then dump the frozen dough balls into a freezer bag. You can bake them straight from frozen whenever a craving hits! Just add maybe 1-2 extra minutes to the bake time. Fresh Brown Butter Chocolate Chip Cookies anytime? Dangerous, but amazing. Dough lasts ~3 months in the freezer.
Okay, Why Am I SO Obsessed? (You’ll Get It Soon!)
Obsessed sounds dramatic, but honestly… I kinda am. Why these Brown Butter Chocolate Chip Cookies?
- That BUTTER: It’s not just butter; it’s browned butter. Nutty, toasty, deep. It changes EVERYTHING.
- The CHEW: That perfect balance – slightly crisp edges, soft and chewy middle, pockets of melty chocolate. It’s just right.
- The SMELL: Forget fancy candles; just brown some butter and bake these cookies. Best. Air Freshener. Ever.
- The Baker’s High: Making something this delicious with your own two hands? It just feels good! And sharing them? Even better.
Now it’s your turn! I’m practically begging you to make these cookies. Seriously, bake a batch this week. Smell that amazing smell, take that first perfect bite, and tell me they aren’t the best Brown Butter Chocolate Chip Cookies you’ve ever had!
And PLEASE, pop back here and tell me how it went in the comments! Did you love them? Did you add nuts or try different chocolate? I get genuinely excited hearing about your baking wins (and even the funny fails!). Happy Baking, friends!
Brown Butter Chocolate Chip Cookies
The BEST nutty, chewy brown butter chocolate chip cookies you'll ever make! Simple recipe for amazing deep flavor. Go on, bake a batch today!
Ingredients
- Unsalted Butter (1 cup / 226g): This is our magic ingredient! Starting with unsalted lets us control the salt later. We’re gonna turn this into liquid gold, folks. Real butter only, please!
- Light Brown Sugar (1 cup packed / 213g): This guy brings the chew and that lovely molasses vibe. If you only have dark brown, that works too – just expect an even deeper, caramelly flavor. Yum.
- Granulated Sugar (1/2 cup / 100g): Helps get those slightly crispy edges we all fight over. The yin to brown sugar’s yang.
- Large Eggs (2): The glue that holds the whole glorious mess together. I always mean to use room temp eggs, but let’s be real, half the time I forget. It still works!
- Pure Vanilla Extract (2 teaspoons): Like a hype man for all the other flavors. If you have the good stuff, use it! Makes a difference.
- All-Purpose Flour (2 ½ cups / 300g): Gives our cookies structure. My best tip? Spoon the flour into your measuring cup and level it off. Don’t scoop straight from the bag, or you’ll pack it in and might get tough cookies. (If you’re gluten-free, I’ve had good luck with quality 1:1 baking blends here).
- Baking Soda (1 teaspoon): Gives ’em lift and helps with browning. Double-check that yours isn’t ancient – fresh baking soda matters!
- Salt (1 teaspoon): SO important. It cuts the sweetness and makes the butter and chocolate sing. Don’t skip it!
- Semi-Sweet Chocolate Chips or Chunks (2 cups / 340g): The main event! Chips, chunks chopped from a bar… go wild! I personally love a mix – maybe some dark chocolate chunks and classic semi-sweet chips? More chocolate = more happiness.
- Flaky Sea Salt (Optional, but is it really?): That fancy-looking salt you sprinkle on top right at the end? DO IT. It looks amazing and gives these little pops of salty goodness. Total game-changer.
Instructions
Step 1: Brown That Butter (Where the Magic Starts!)
Grab a saucepan – preferably a light-colored one so you can see what’s happening. Toss in your butter over medium heat. Let it melt, bubble, foam up, then calm down. Keep swirling the pan or stirring pretty often. You’re watching for little toasty brown bits to appear on the bottom and for it to smell AMAZINGLY nutty. Should take 5-8 minutes after it’s fully melted. The second it hits that perfect amber color and smells incredible, pull it off the heat! Seriously, don’t wander off – it goes from perfect to burnt fast. Pour it immediately into a heatproof bowl, scraping all those yummy brown bits from the pan. That’s flavor gold right there!

Step 2: Let it Chill (Just a Bit)
Let that gorgeous brown butter cool down for 10-15 minutes. If it’s piping hot it’ll scramble your eggs. No bueno.
Step 3: Sugar & Wet Stuff
Add both brown and white sugars to the cooled butter. Whisk it like you mean it until it’s all smooth. Crack in the eggs, one at a time, mixing well after each. Stir in the vanilla. Easy!

Step 4: Dry Ingredients Party
In a different bowl, just whisk together the flour, baking soda, and salt. This helps make sure you don’t get a clump of baking soda in one bite (yuck).
Step 5: Bring It All Together (But Gently!)
Okay, pour the dry stuff into the wet stuff. Mix it on low speed or just use a spatula until it just comes together. As soon as you don’t see dry flour streaks, STOP MIXING. For real. Overmixing makes tough cookies, and life’s too short for tough cookies.

Step 6: CHOCOLATE!
Time for the best part! Gently fold in those glorious chocolate chips or chunks. I always hold back a few to poke onto the tops of the cookies before baking – makes ’em look extra pretty.
Step 7: Fridge Time! (Super Important!)
Cover the bowl tightly (plastic wrap works great) and stick it in the fridge. Like I said, minimum 1 hour. But if you can wait longer (24-72 hours)? Do it! This is KEY for the amazing texture and deep flavor of these Brown Butter Chocolate Chip Cookies.
Step 8: Get Ready to Bake!
When you can’t wait anyyy longer, preheat your oven to 375°F (190°C). Line your baking sheets with parchment paper (trust me, cleanup is way easier).
Step 9: Scoop ’em Up!
Use a cookie scoop (or just a couple of spoons) to make dough balls – maybe about 1.5-2 tablespoons each? Plop them onto your prepared baking sheets, leaving some space between them so they can spread a little. If you saved some chocolate chips, gently press them onto the tops now. Bake for 10-12 minutes. You want the edges to look set and golden brown, but the middles should still look a tiny bit soft or underdone. They finish cooking on the hot pan. My secret? I always pull them out a minute early for maximum chewiness.
Step 10: Cool Down (or Don’t!) & Sprinkle!
Let the cookies hang out on the baking sheet for about 5 minutes. This lets them firm up so they don’t fall apart when you move them. If you’re using flaky sea salt (please say yes!), sprinkle it on now while they’re warm. Then, carefully transfer them to a wire rack to cool completely… or, you know, sneak one while it’s still warm and gooey. Just be careful not to burn your tongue!
Notes
Nutrition Information:
Yield: about 24 servingsAmount Per Serving:Calories: Approx. 200 kcal per cookie
There are no reviews yet. Be the first one to write one.