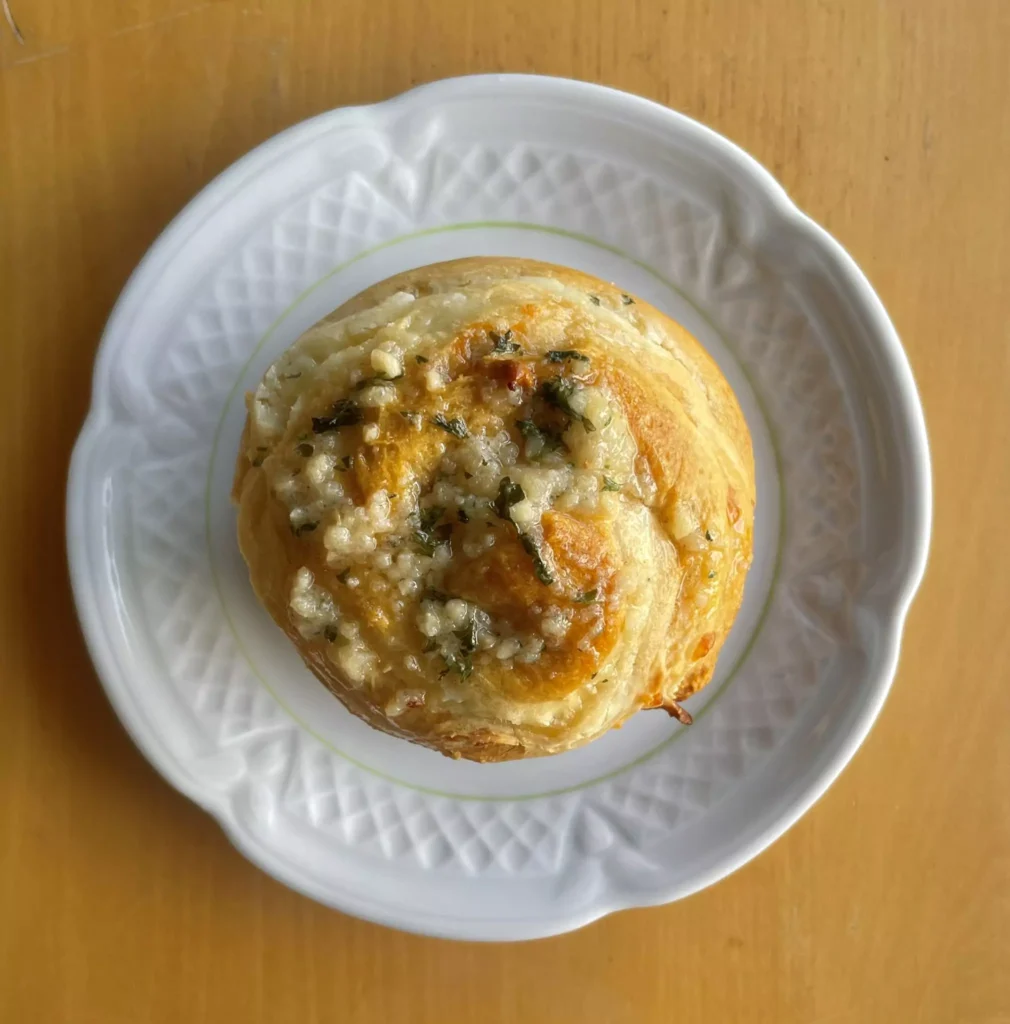
Savory Cheesy Garlic Cruffins: Seriously, Bake This Magic!
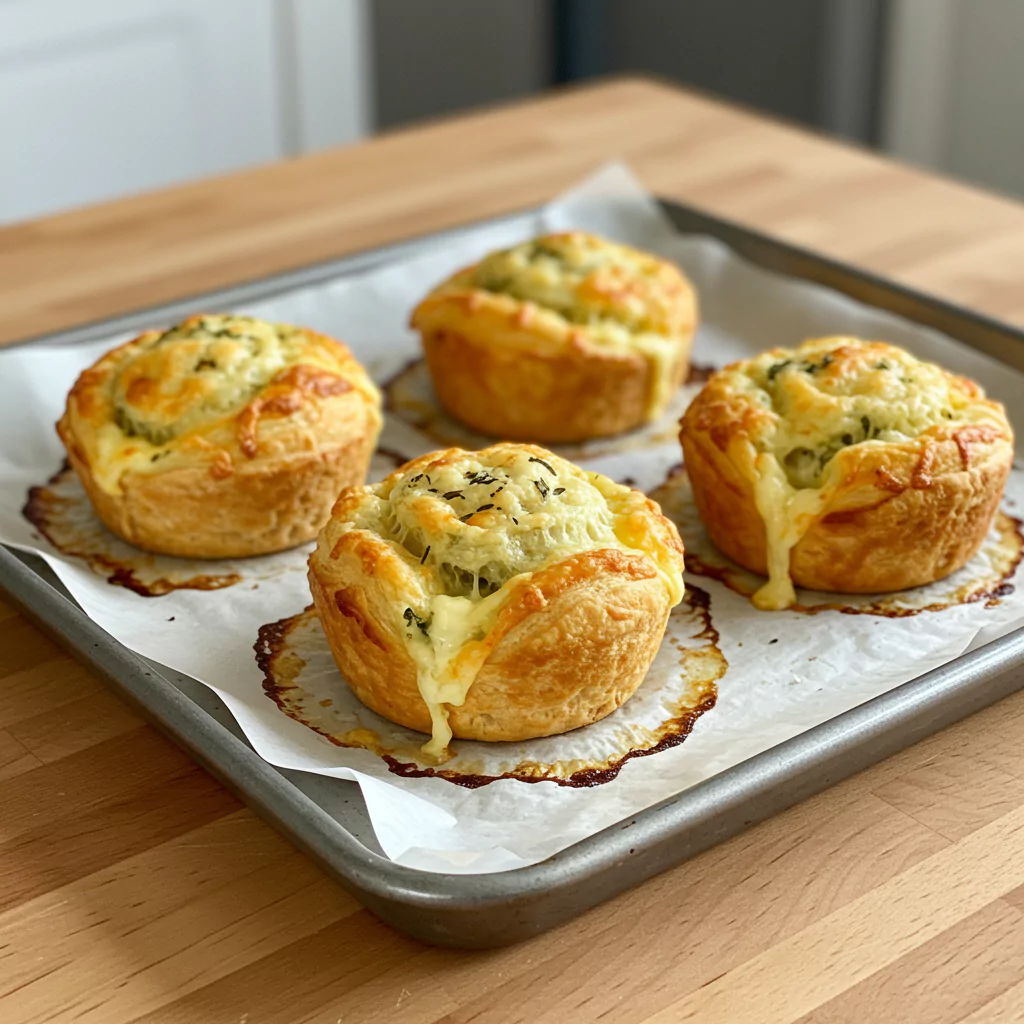
Oh my, you guys HAVE to hear how these Savory Cheesy Garlic Cruffins basically happened by accident in my kitchen! I was attempting garlic bread, got distracted (squirrel!), and nearly cremated the poor thing. Total kitchen fail moment! But then, I saw this puff pastry I had thawing, looked at my sad garlic bread attempt, and thought… hmmm. What if I put that yummy garlic butter inside the pastry, rolled it up all cheesy, kinda like a muffin? Best. Idea. Ever. After way too many delicious “test batches” (wink wink), I figured out the secret to getting them perfectly flaky inside with THAT amazing, bubbly, cheesy-herby top you see in the picture. They look fancy, taste incredible, and honestly? Not that hard to whip up!
What You Need to Grab (It’s Mostly Pantry Stuff!)
Alright, ingredient time! Don’t worry, it’s nothing too wild. To make these awesome Savory Cheesy Garlic Cruffins, you’ll wanna have:
- Puff Pastry: One sheet, you know, the frozen kind (around 10 oz). If you can find the all-butter version, grab it – it just makes everything extra flaky and amazing. But the regular stuff works great too! Just make sure it’s thawed before you start.
- Butter: Half a stick (4 tbsp) of unsalted butter. Let it chill on the counter for a bit so it’s nice and soft – makes life easier.
- Garlic: I go for 3 or 4 cloves, minced up super tiny. But hey, you do you! Love garlic? Add more! Fresh is definitely best for that real punch, but garlic powder (maybe a tsp?) works if that’s all ya got.
- Cheese: My magic combo is about a cup total of sharp cheddar mixed with mozzarella. Cheddar for flavour, mozz for that melty, stretchy, gorgeous topping you see. But honestly, use whatever cheese makes you happy! Got Gruyere? Go for it!
- Fresh Herbs: About 2 tablespoons, chopped up. Parsley or chives are perfect. Adds that pop of green and freshness. Dried works too, maybe a teaspoon of Italian seasoning? Sure!
- Salt & Pepper: You know, a pinch here and there.
- A Little Extra? Sometimes I throw in a tiny bit of smoked paprika or red pepper flakes into the butter mix. Just for fun!
How Long Does This Take? Not Forever, Promise!
Okay, real talk – these look impressive, but they’re not an all-day project.
- Prep: Maybe 20 mins? Depends how fast you chop and grate! Includes thawing time if you forgot (oops!).
- Bake Time: Around 20-25 minutes in the oven.
- Total: So yeah, under an hour once your pastry is ready to go. Pretty darn quick for something that tastes THIS good and gets those “Ooh, what are THOSE?!” reactions.
Let’s Get Baking! Making Those Cheesy Spirals
Ready to make some kitchen magic happen? It’s easier than you think!
Step 1: Warm Up the Oven, Grease the Tin!
First thing, crank that oven up to 400°F (200°C). Give your muffin tin (just a standard 6-cup one) a quick spray or rub with butter so nothing sticks later. Make sure your puff pastry is thawed and ready!
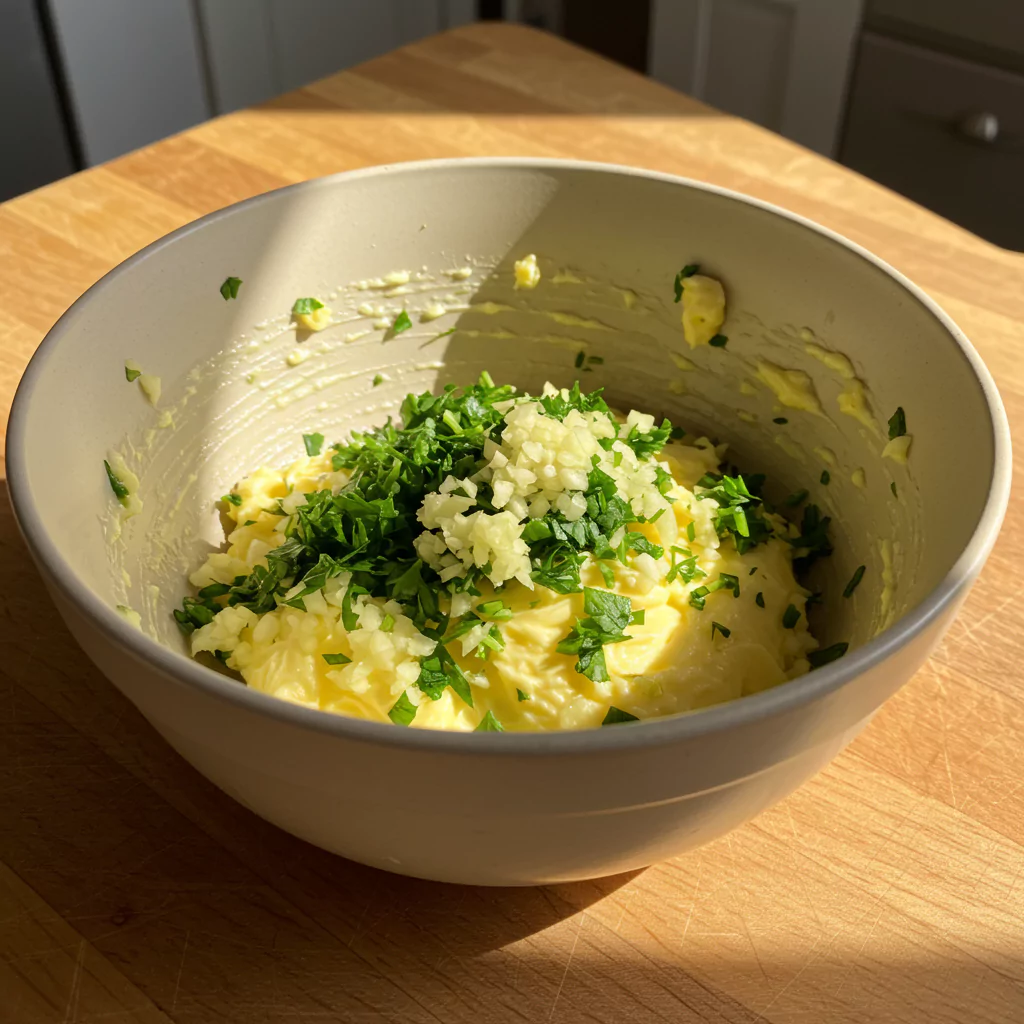
Step 2: Garlic Butter Time!
Grab a little bowl. Toss in your soft butter, minced garlic, chopped herbs, salt, and pepper. Mix it all up ’til it’s combined and smells ridiculously good (it will!). Give it a tiny taste – need more salt? Add it! Hot tip: Make sure the butter is properly soft, not melted, otherwise it gets messy to spread!
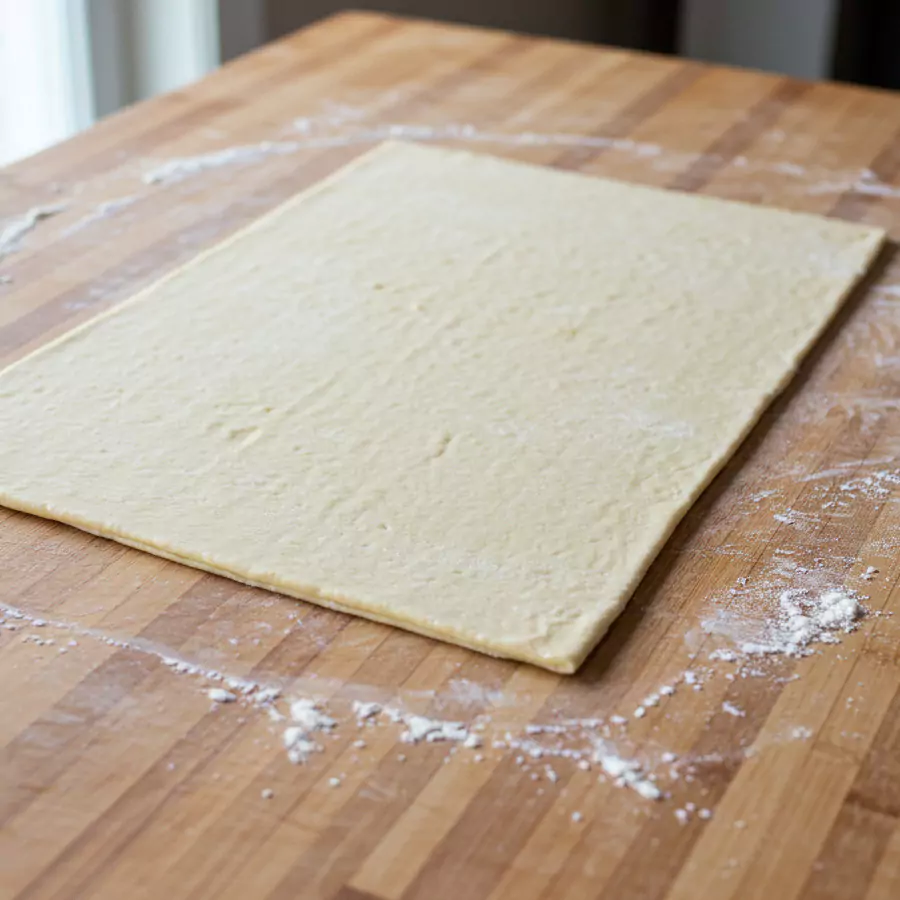
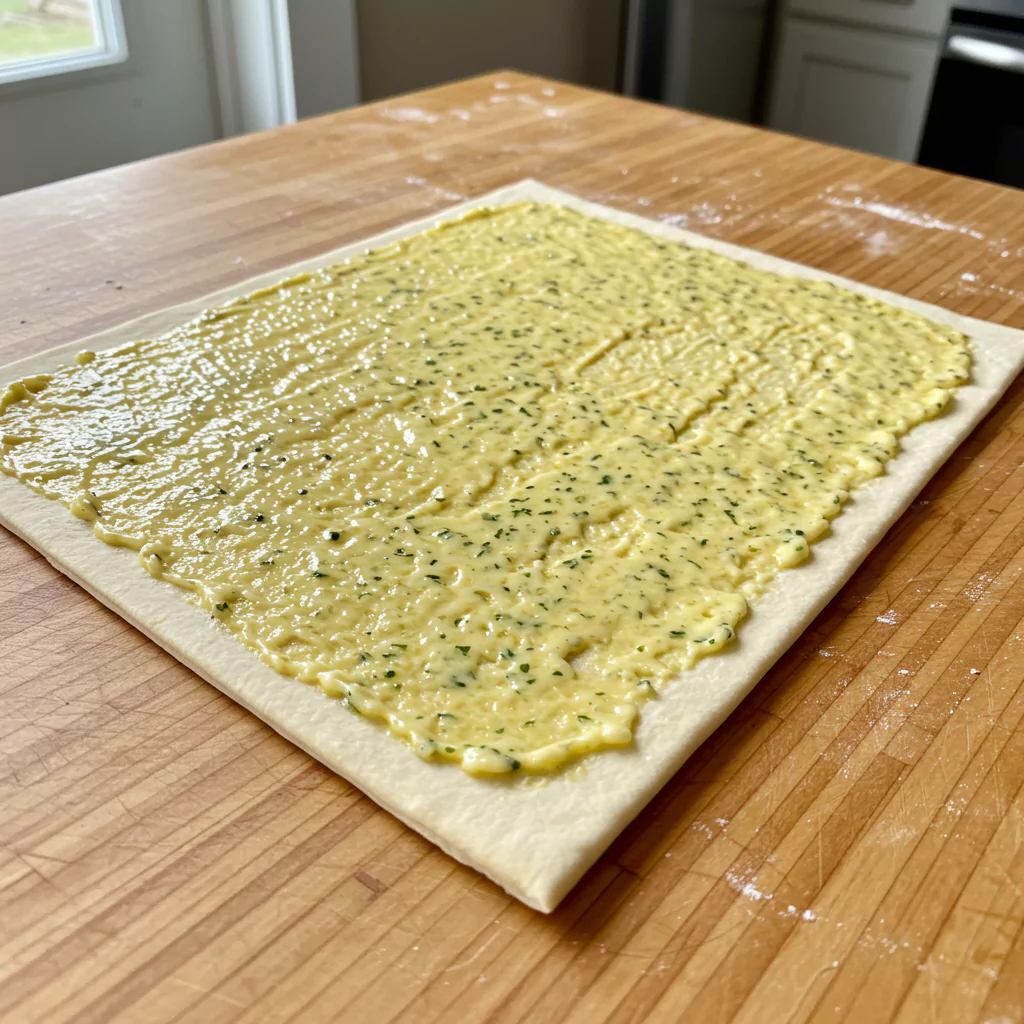
Step 3: Layer Up the Goodness
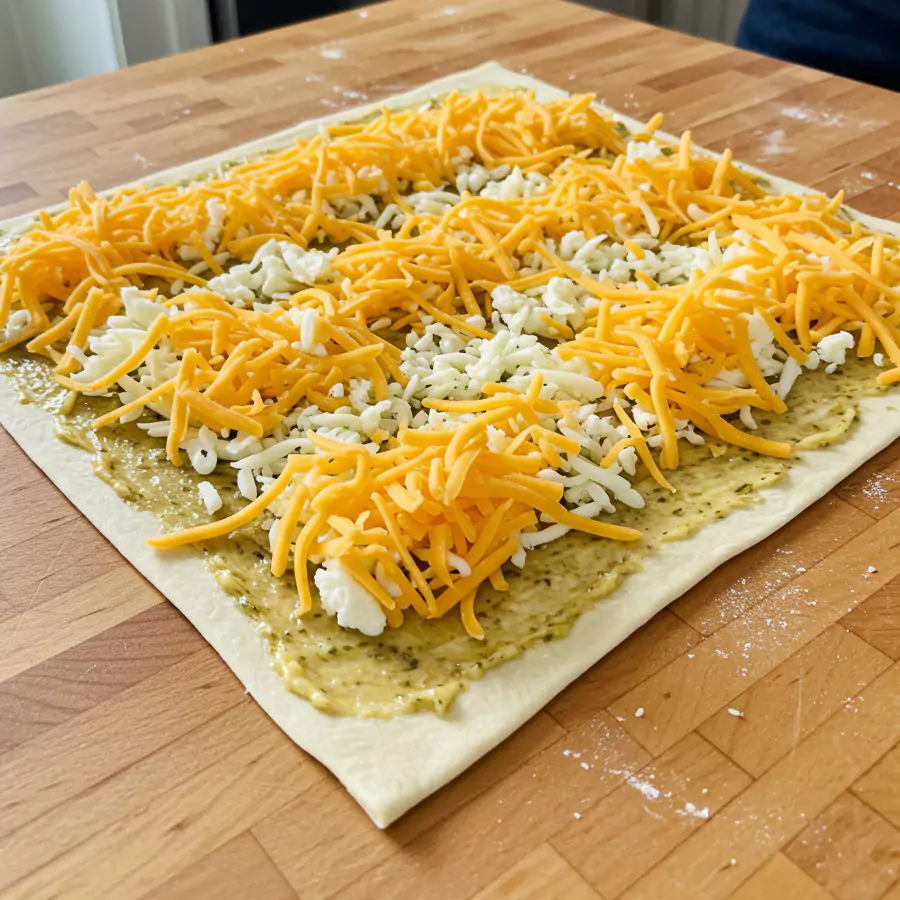
Flour your counter a tiny bit and gently roll out your puff pastry sheet. Don’t go crazy, just smooth it out into roughly a rectangle (like 10×12 inches?). Now, slather that yummy garlic butter ALL over it, edge to edge. Be generous! Sprinkle the cheese evenly right on top of the butter.
Step 4: Roll, Slice, Repeat!
Pick one of the long sides and roll that pastry up nice and snug, like you’re making cinnamon rolls. Pinch the end seam a little. Grab a sharp knife and slice that log into 6 rounds. Bam! Look at those pretty spirals!
Step 5: Tuck ’em into Bed (The Muffin Tin!)
Okay, pop each slice, swirl-side up, into a muffin cup. Don’t squash ’em! Here’s the cool part: That cheese and butter inside? As these babies bake, it’s gonna bubble up and melt all over the tops, creating that incredible golden, cheesy crust you saw in the picture. It just happens!
Step 6: Bake ’til Gorgeous!
Slide that tin into the hot oven and bake for about 20-25 minutes. You’ll know they’re done when they’re puffed high, beautifully golden brown, and that cheese on top is bubbly and maybe even a little crispy in spots. Your kitchen is going to smell insane right now!
Step 7: Hold Your Horses! (Just for 5 mins)
Okay, okay, I know you wanna grab one, but let your amazing Savory Cheesy Garlic Cruffins hang out in the muffin tin for 5, maybe 10 minutes after they come out of the oven. It helps them firm up a bit so they don’t fall apart. Then, gently ease ’em out onto a wire rack or plate. Go on, admire your handiwork!
Wanna Lighten Things Up a Bit?
Look, these are meant to be indulgent, but if you’re feeling slightly virtuous:
- Pastry Swap: Whole wheat puff pastry exists! It’s a bit nuttier, less delicate maybe, but works.
- Cheesy Does It: Reduced-fat cheese is an option. Or just use a bit less cheese overall.
- Butter Hack: You could technically use a little less butter… maybe? shrugs
- Veg Out: Finely chopped spinach (squeeze it REALLY dry!) or tiny mushrooms mixed with the cheese add some green stuff.
Recipes You May Like
How to Serve These Little Bundles of Joy
Honestly? Warm is best for these Savory Cheesy Garlic Cruffins, especially with those amazing tops! But here are ideas:
- With Soup: Forget croutons! Dip these in some creamy tomato soup. Heaven.
- Next to Salad: Instantly makes a boring salad feel fancy.
- Brunch Star: Put a basket of these out? They’ll be gone in 5 minutes flat. Trust me.
- Party Time: Perfect finger food! Maybe some marinara on the side? Do it.
- Just Because: Sometimes you just need a warm, flaky, cheesy hug. This is it.
If You Actually Have Leftovers…
Seriously, it’s rare, but if you do:
- Counter Life: Once they’re totally cool, airtight container, maybe a day or two. They won’t be as crisp, fair warning.
- Reheat Like a Pro: Best way? Pop ’em back in a 350°F oven or an air fryer for a few minutes. Gets that cheesy top bubbly and the pastry flaky again. Microwave = kinda sad and soft, but works in a desperate moment.
- Make Ahead? Yep! Assemble ’em in the tin, cover tight, stick ’em in the fridge (up to a day). Let ’em sit out for 15-20 mins before baking. Easy peasy.
Seriously Though, Why You NEED These In Your Life
Okay, I’ll stop gushing soon, promise! But look at them! These Savory Cheesy Garlic Cruffins are just… the best.
- No weird ingredients.
- They look SO impressive, especially with those cheesy tops!
- That flavour combo? Flaky, buttery, garlicky, cheesy… it’s everything good.
- They work for everything – snacks, brunch, appetizers, you name it.
Making these just makes me happy. The smell while they bake, pulling that tray out of the oven and seeing those golden, bubbly tops… pure joy!
Okay, YOUR turn! Please, go make these Savory Cheesy Garlic Cruffins! I really wanna know how they turn out for you. Did you love them? Did they get those amazing cheesy tops? Tell me all about it in the comments! Happy Baking! Sources and related content

Savory Cheesy Garlic Cruffins
Bake easy Savory Cheesy Garlic Cruffins! Flaky puff pastry bites with amazing cheesy garlic tops. Perfect snack or appetizer. Try this recipe!
Ingredients
- 1 sheet (around 10 oz) puff pastry, preferably all-butter, thawed
- 4 tablespoons (1/4 cup) unsalted butter, softened
- 3-4 cloves garlic, minced very fine (or more if you love it!)
- 1 cup shredded cheese (try a mix of sharp cheddar & mozzarella!)
- 2 tablespoons fresh parsley or chives, finely chopped
- Pinch of salt
- Pinch of black pepper
- (Optional: tiny dash of smoked paprika or red pepper flakes)
Instructions
Step 1: Warm Up the Oven, Grease the Tin!
First thing, crank that oven up to 400°F (200°C). Give your muffin tin (just a standard 6-cup one) a quick spray or rub with butter so nothing sticks later. Make sure your puff pastry is thawed and ready!
Step 2: Garlic Butter Time!
Grab a little bowl. Toss in your soft butter, minced garlic, chopped herbs, salt, and pepper. Mix it all up ’til it’s combined and smells ridiculously good (it will!). Give it a tiny taste – need more salt? Add it! Hot tip: Make sure the butter is properly soft, not melted, otherwise it gets messy to spread!
Step 3: Layer Up the Goodness
Flour your counter a tiny bit and gently roll out your puff pastry sheet. Don’t go crazy, just smooth it out into roughly a rectangle (like 10×12 inches?). Now, slather that yummy garlic butter ALL over it, edge to edge. Be generous! Sprinkle the cheese evenly right on top of the butter.
Step 4: Roll, Slice, Repeat!
Pick one of the long sides and roll that pastry up nice and snug, like you’re making cinnamon rolls. Pinch the end seam a little. Grab a sharp knife and slice that log into 6 rounds. Bam! Look at those pretty spirals!
Step 5: Tuck ’em into Bed (The Muffin Tin!)
Okay, pop each slice, swirl-side up, into a muffin cup. Don’t squash ’em! Here’s the cool part: That cheese and butter inside? As these babies bake, it’s gonna bubble up and melt all over the tops, creating that incredible golden, cheesy crust you saw in the picture. It just happens!
Step 6: Bake ’til Gorgeous!
Slide that tin into the hot oven and bake for about 20-25 minutes. You’ll know they’re done when they’re puffed high, beautifully golden brown, and that cheese on top is bubbly and maybe even a little crispy in spots. Your kitchen is going to smell insane right now!
Step 7: Hold Your Horses! (Just for 5 mins)
Okay, okay, I know you wanna grab one, but let your amazing Savory Cheesy Garlic Cruffins hang out in the muffin tin for 5, maybe 10 minutes after they come out of the oven. It helps them firm up a bit so they don’t fall apart. Then, gently ease ’em out onto a wire rack or plate. Go on, admire your handiwork!
Notes
- Pastry Thawing PSA! Just a friendly reminder – don't forget to pull that puff pastry out of the freezer so it can thaw before you wanna start baking! Check the package, but usually, 30-40 minutes chilling on the counter does the job. Nothing worse than being all set to go and realizing your pastry is still a brick!
- About Those Cheesy Tops: When these guys are baking, you'll see some of that yummy cheese and butter bubble up and get all melty over the tops – that's totally normal and exactly what you want! It makes that gorgeous, golden, kinda crusty top like in the pictures. It's not a mistake, it's deliciousness happening!
- How to Eat 'Em: Oh man, definitely try to snag one while they're still warm. That's peak flaky, gooey goodness right there! They're fantastic just on their own, but also so good for dipping in soup (tomato soup = match made in heaven) or alongside a big salad. And for brunch? They're usually the first thing to vanish from the table!
- Leftover Strategy (If That Happens!): Okay, if you somehow manage to have leftovers, let them cool down all the way first. Then you can keep 'em in an airtight container on the counter for a day or maybe two (they won't be quite as crisp, fair warning). Wanna reheat? My best trick is a few minutes in a warm oven or an air fryer (around 350°F/175°C) – perks them right back up, almost like magic!
- Playing Around: Don't be afraid to mix things up! Use different cheeses – whatever melts nicely! Gruyere feels fancy, pepper jack adds a kick. Toss some different herbs or spices in the butter. Feeling adventurous? Add some finely chopped (and really well-squeezed!) spinach with the cheese. Have fun with it!
Nutrition Information:
Yield: 6 servingsAmount Per Serving: Calories: Approx. 350-450 kcal per cruffin
Tried This Recipe? Share Your Thoughts!
There are no reviews yet. Be the first one to write one.